Welcome to the exciting world of Fluid Art! This captivating technique involves using fluid acrylics to pour and manipulate on canvas or wood surfaces. Also known as Pouring Art, this method offers a relaxing and creative journey for beginners and experienced artists. With canvas boards, fluid acrylic colors, and mixing tools, you can transform your workspace into a creative splash zone. Explore techniques like the Smash Technique, Dirty Cup, and Dutch Pour to create unique pieces with mesmerizing patterns and colors. Remember, practice makes perfect, and each pour is an opportunity to experiment and innovate. Add a glossy finish to preserve the brilliance of your masterpieces, ready to showcase or gift. Enjoy the process of pouring!

Introduction to Fluid Art
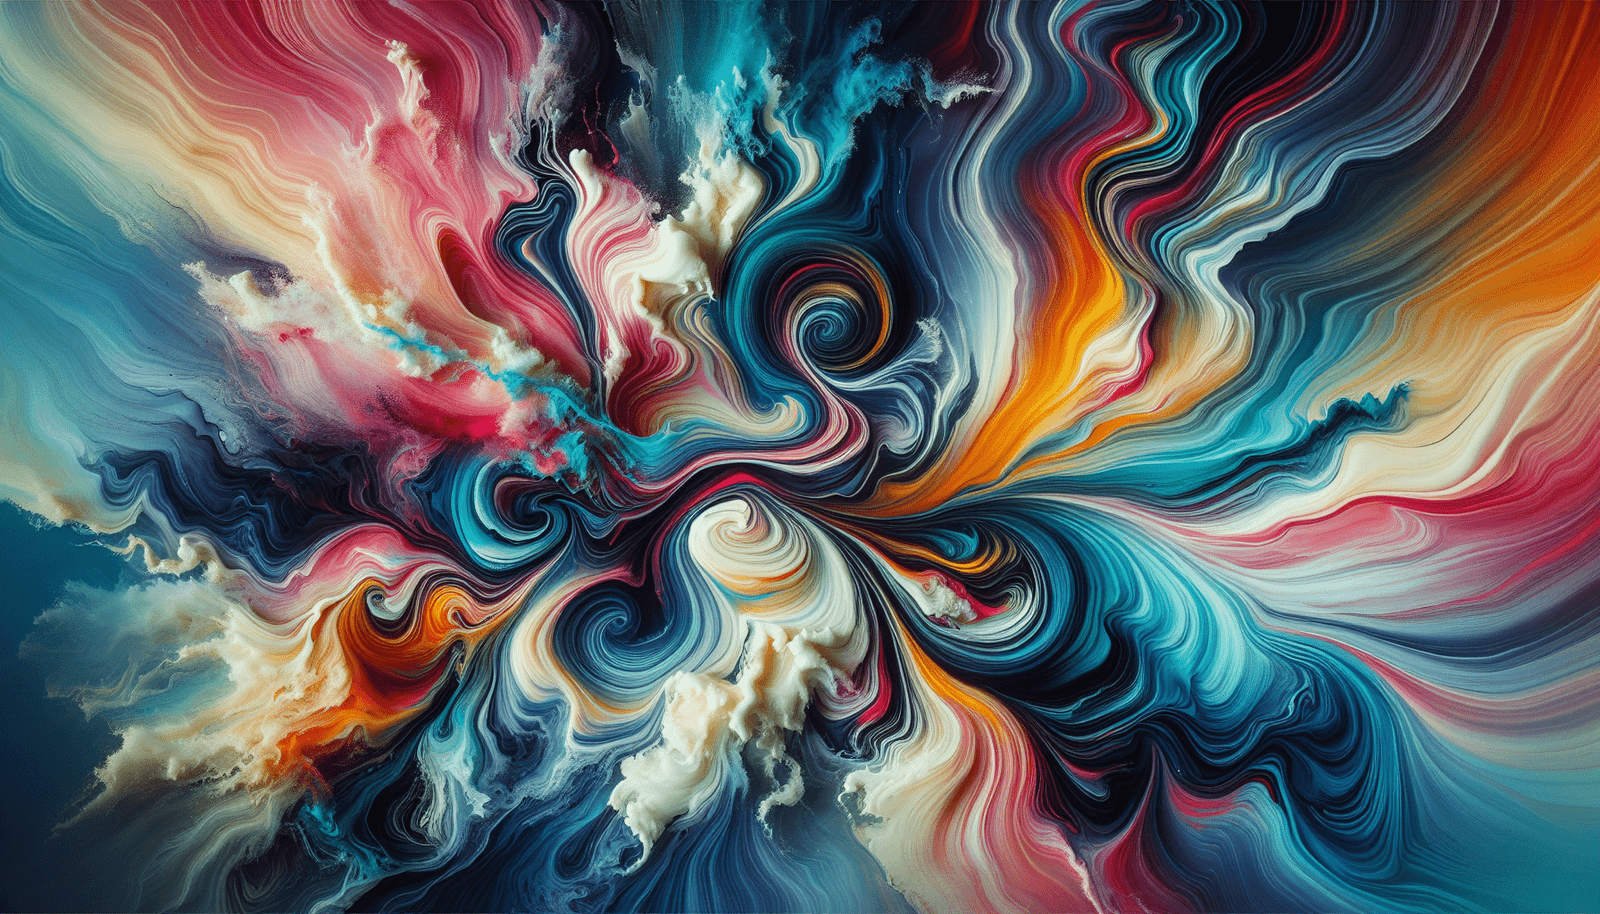
Fluid art is an artistic technique that involves the pouring and manipulation of fluid acrylics on a surface. It’s also referred to as pouring art or even art therapy due to its calming and stress-relieving properties. The joy of fluid art lies in its unpredictability — each piece is unique, making every artwork a one-of-a-kind creation. Whether you’re a seasoned painter or a newbie looking to explore a new hobby, fluid art offers a satisfying outlet for creativity and experimentation.
Supplies Needed
Before you start creating your very own fluid art masterpiece, you’ll need to gather a few key supplies. Here’s a breakdown of the essentials:
| Supplies | Description |
|---|---|
| Canvas Board | You can use a variety of surfaces, including canvas boards, wooden panels, or even acrylic sheets. |
| Fluid Acrylic Colors | These are special paints with a runny consistency, perfect for pouring. |
| Pouring Medium | This is used to thin out the acrylic paint while maintaining its vibrant color. |
| Paper Cups | Useful for mixing and pouring your paint. |
| Hand Gloves & Apron | To keep yourself clean. Optionally, a weighing machine can help ensure accurate paint measurements. |
With these supplies at hand, you’re ready to set up your workspace.
Workspace Preparation
Creating fluid art can be a bit messy, so it’s important to have a well-prepared workspace. Here are some steps to ensure your area is ready:
- Protect Surfaces: Cover your worktable with plastic sheets or newspapers. Fluid acrylics can splatter, and you wouldn’t want to stain your furniture.
- Canvas Setup: Arrange your canvas or chosen surface with adequate spacing around it. Elevating the canvas slightly off the table using support sticks can help paint drip off the edges more effectively.
Painting Process
Now comes the exciting part: painting! Let’s walk through the entire process, step by step.
Fluid Preparation
Start by preparing your fluid acrylics. If needed, mix your acrylic paints with a pouring medium to create a smooth, free-flowing consistency. Typically, you’ll want a 1:1 ratio of paint to medium, but this can vary depending on the brand and type of paint you’re using. Stir the mixture well to avoid clumps.
Priming
Before you start pouring, prime your canvas. A thin layer of white or black acrylic paint spread evenly over the surface can help ensure your colors flow smoothly and blend nicely.
Techniques
Fluid art offers various techniques for pouring paint. Here are some popular methods you might want to try:
Smash Technique
- How To: Pour different colors of acrylic paint onto a flat surface.
- Action: Smash your canvas onto the painted surface and lift it to see the random spread of paint.
Dirty Cup
- How To: Layer multiple colors of fluid acrylics into a single cup.
- Action: Pour the contents onto your canvas in one smooth motion, allowing the colors to mix and form intricate patterns.
Tree Ring
- How To: Pour different colors into a cup without mixing.
- Action: Slowly pour the paint in a circular motion over the canvas to create concentric ring patterns.
Dutch Pour
- How To: Pour paint directly onto a primed canvas.
- Action: Use a straw or hairdryer to blow the paint around, creating beautiful, soft-edge patterns.
Practice and Adjustments
One of the most appealing aspects of fluid art is its emphasis on experimentation. Don’t be afraid to test new color combinations and techniques. If you’re not happy with the outcome, you can always scrap the painting and start anew. The more you practice, the more refined your technique will become.
Drying and Preservation
Once you’ve achieved the desired effect on your artwork, allow it to dry undisturbed for at least 24 hours.
- Drying Time: Make sure to keep your piece horizontal and in a dust-free area to avoid any particles sticking to the wet paint.
- Post-Drying: Apply a varnish or resin to your dried artwork. This not only provides a protective layer but also gives your painting a glossy, professional finish.
Additional Tips
For those looking to take their fluid art to the next level, here are some additional tips:
- Color Separation: Ensure effective color separation to avoid muddy hues. Mix colors that complement each other and avoid over-stirring.
- Brightness Control: Add a bit of white to your color palette to manage brightness and contrast.
- Experimentation: Play around with different color combinations and techniques. Remember, fluid art is all about discovery and creativity.
Conclusion
Fluid art is a fantastic medium that’s accessible to beginners and offers endless creative possibilities. From choosing your colors and techniques to watching the paint flow and settle into unique patterns, each step in the process is an adventure. Once your artwork is dry, consider protecting and displaying it using double-sided tape or wooden frames for a professional look.

Final Note
Encourage yourself to try different techniques and share your experiences. Fluid art is a community-driven hobby, and there’s always something new to learn from fellow artists. One last tip: be cautious when mixing dark colors together to avoid muddy results and keep your outcomes clean and vibrant.
So, grab your supplies and prepare your workspace — it’s time to pour your creativity onto the canvas and watch it flow into something uniquely beautiful!