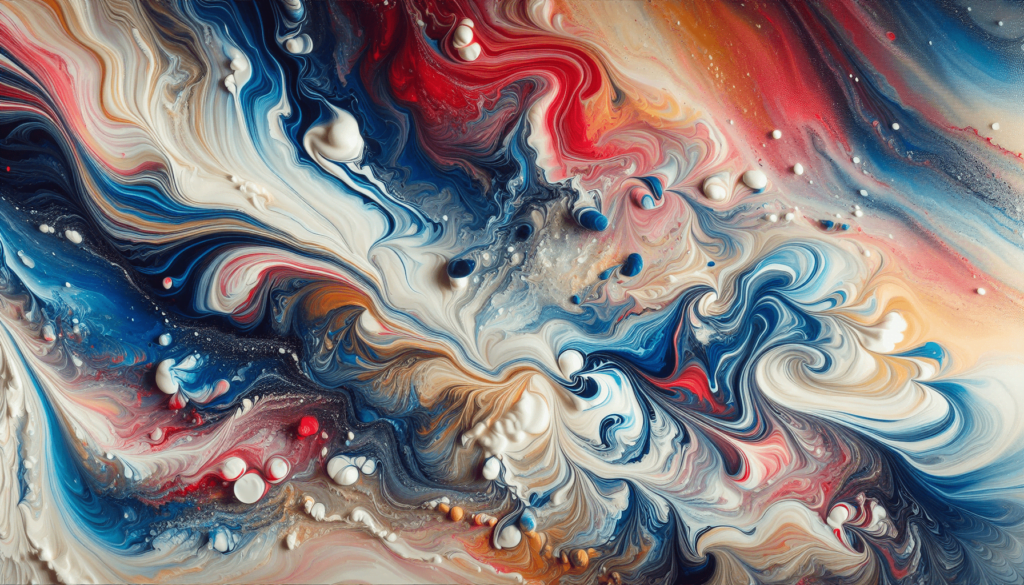
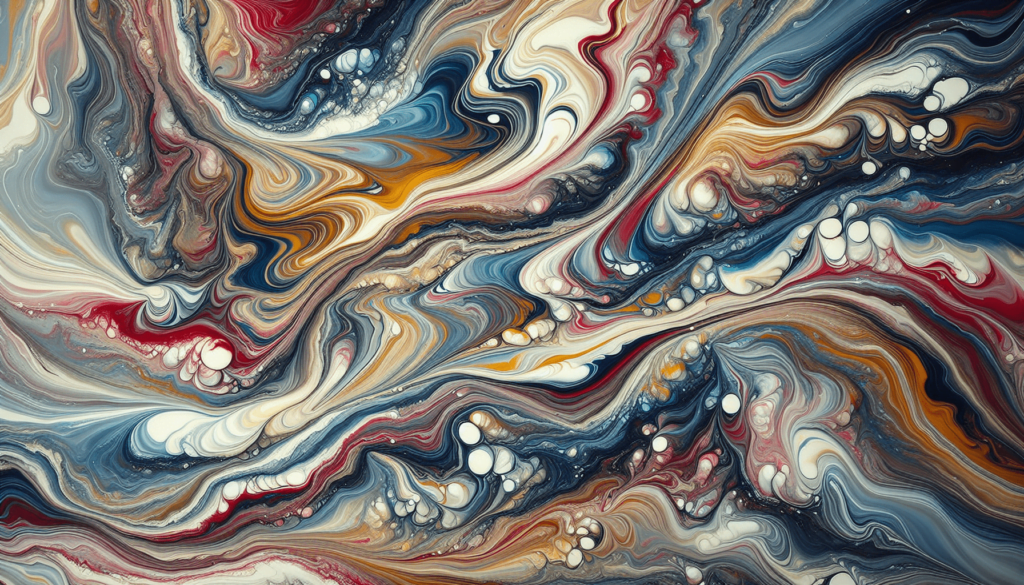
Our free class is the perfect starting point for beginners interested in acrylic pouring. It covers key materials, paint consistency, recipes, and techniques to create unique artwork. Join us to embark on this colorful journey and learn the mesmerizing art of fluid art.
.
This course is perfect for beginners. We’ll guide you through the essential materials, how to mix paints correctly, and help you create your first successful painting. Let’s dive in!
Why Fluid Art?
Fluid art is unique because it allows creativity to flow quite literally. Unlike traditional painting where you control the brush, fluid art involves a degree of unpredictability, which is what makes it so fun and addictive! It’s also an excellent way to relax and let go of perfectionism because there’s no “wrong” way to do it.
Understanding Materials
Before you start your fluid art journey, it’s crucial to have a good grasp of the materials you’ll be using. This foundation will make the process smoother and more enjoyable.
Recommended Materials
To make things easier, we’ve put together a convenient list of materials that you’ll need:
| Material Item | Description |
|---|---|
| Acrylic Paints | Use high-flow acrylics for best results. |
| Pouring Medium | This is used to thin the acrylic paint. |
| Canvas or Surface | Choose a flat surface like a canvas or wood panel. |
| Silicone Oil | Helps create cells in your artwork. |
| Plastic Cups | For mixing your paint and medium. |
| Stirring Sticks | For blending your paint and medium. |
| Drop Cloth | To protect your workspace. |
| Push Pins | To elevate your canvas. |
| Gloves | Keep your hands clean. |
| Palette Knife | Useful for spreading paint. |
Feel free to find a convenient starter pack that includes most of these materials in one go. It’s also a good idea to gather these items before you start your project to make the process smoother.
How to Mix Paints
Getting the right consistency is key to successful fluid art. Here’s a simple method to mix your paints:
- Measuring: Use a ratio of 2 parts acrylic paint to 1 part pouring medium. This can vary depending on the thickness of your paint, so adjust as needed.
- Mixing: Stir the mixture until it’s smooth and flows easily off your stirring stick. You want it to be thick enough to coat the canvas but thin enough to spread easily.
- Adding Silicone Oil: If you desire cells in your artwork, add a couple of drops of silicone oil to your mix.
Checking Consistency
The paint mix should have the consistency of warm honey or melted chocolate. If it’s too thick, add more pouring medium; if it’s too thin, add a bit more paint.

Recipes
When you’re ready for your first pour, you will need recipes. A recipe is often worded in a ratio, like 2:1 or 2 parts to 1 part. A ratio helps you reproduce the recipe in any quantity that you’d like instead of being given exact quantities that yield an exact amount of paint. It’s important to note whether parts are in volume or weight. For our course, the parts are in volume, so use measuring cups or spoons to establish a part.
Basic Pouring Recipe
To help you get started, here’s a basic recipe you can follow:
| Component | Ratio |
|---|---|
| Acrylic Paint | 1 part |
| Pouring Medium | 2 parts |
| Distilled Water | 5-10% of mix |
| Silicone Oil (optional) | 2-3 drops |
This recipe will give you a good starting point, and you can adjust as you see fit.
Advanced Pouring Recipe
For those who want to explore further, here’s a more advanced recipe that incorporates additional elements:
| Component | Ratio |
|---|---|
| Acrylic Paint | 1 part |
| Pouring Medium | 1 part |
| Distilled Water | 5-10% of mix |
| Floetrol | 1 part |
| Silicone Oil (optional) | 3-4 drops |
Floetrol is a paint conditioner that helps improve the flow and spreadability of your paint, making it easier to create beautiful cells and patterns.
Techniques
Now that your recipes are sorted, let’s explore some fun techniques to bring your fluid art to life!
Dirty Pour
The dirty pour technique is a straightforward and fun way to create a fluid art piece. Here’s how to do it:
- Layering: Pour your mixed paints into a single cup, layering each color on top of the other.
- Pouring: Flip the cup onto the canvas in one quick motion and lift slowly.
- Tilting: Tilt the canvas to spread the paint and create dynamic patterns.
Flip Cup
The flip cup method involves more control over the flow of paint. Here’s a quick guide:
- Prepare: Place a canvas on a protected surface.
- Cup Ready: Fill a plastic cup with your paint mixture.
- Flip: Quickly flip the cup onto the canvas and let the paint spread.
- Lift: Slowly lift the cup to allow the paint to flow out.
Swipe Technique
For stunning effects, try the swipe technique:
- Pouring: Pour stripes of paint across the canvas.
- Swiping: Use a palette knife or a piece of cardboard to swipe across the surface.
- Patterns: You’ll notice cells and patterns forming as you swipe.
String Pull
This technique is excellent for creating floral patterns:
- String Prep: Cut lengths of string and dip them into your paint mixture.
- Laying: Lay the string in a random pattern on the canvas.
- Pulling: Gently pull the string off the canvas to reveal beautiful designs.

Troubleshooting Common Issues
Even seasoned artists encounter issues from time to time. Here are some common problems and solutions:
Paint Cracking
Cause: Thick paint layers or improper drying conditions.
Solution: Use thinner layers of paint and ensure a controlled drying environment.
No Cells
Cause: Insufficient silicone oil or wrong consistency.
Solution: Adjust the amount of silicone oil and check your paint consistency.
Muddy Colors
Cause: Over-mixing or using colors that don’t blend well together.
Solution: Use fewer colors and avoid over-mixing.
Paint Sliding Off
Cause: Surface not prepared or uneven consistency.
Solution: Ensure the surface is clean and use a leveling tool to maintain even paint layers.
Extending Your Skills
If you’ve enjoyed this introductory course, you’ll love diving deeper into the world of fluid art. Our full online course, “Acrylic Pouring for Beginners,” covers everything you need to know to produce stunning paintings and troubleshoot any issues you might encounter along the way.
Benefits of the Full Course
- Comprehensive Lessons: Step-by-step video tutorials covering various techniques.
- Expert Tips: Learn from mistakes others have made, and get advice from seasoned artists.
- Community Support: Join a group of like-minded individuals who can offer advice, feedback, and encouragement.
- Resource Library: Access to exclusive recipes, material recommendations, and more.
Join Our Newsletter
Stay updated with the latest fluid art trends, tips, and techniques by joining our newsletter. You’ll also receive alerts about discounted acrylic pouring products and much more!
How to Join
Simply click [here](URL to join the newsletter) to sign up. Don’t miss out on valuable resources that can help you on your fluid art journey!
Final Thoughts
Starting with fluid art can seem a bit overwhelming, but with the right guidance and a bit of practice, you’ll be creating gorgeous pieces in no time. Remember, the beauty of fluid art lies in its unpredictability and the unique creations that result from it.
If you enjoyed this course and my teaching style, you’re sure to find immense value in our comprehensive “Acrylic Pouring for Beginners” online course. Until then, happy pouring!
Feel free to explore more on our [blog](URL to the blog) where we cover various tips, tricks, and techniques to keep the creative juices flowing. Happy creating, and don’t forget to share your artwork with us on social media!
Thank you for joining our Free Fluid Art Class. We can’t wait to see what beautiful creations you come up with!

