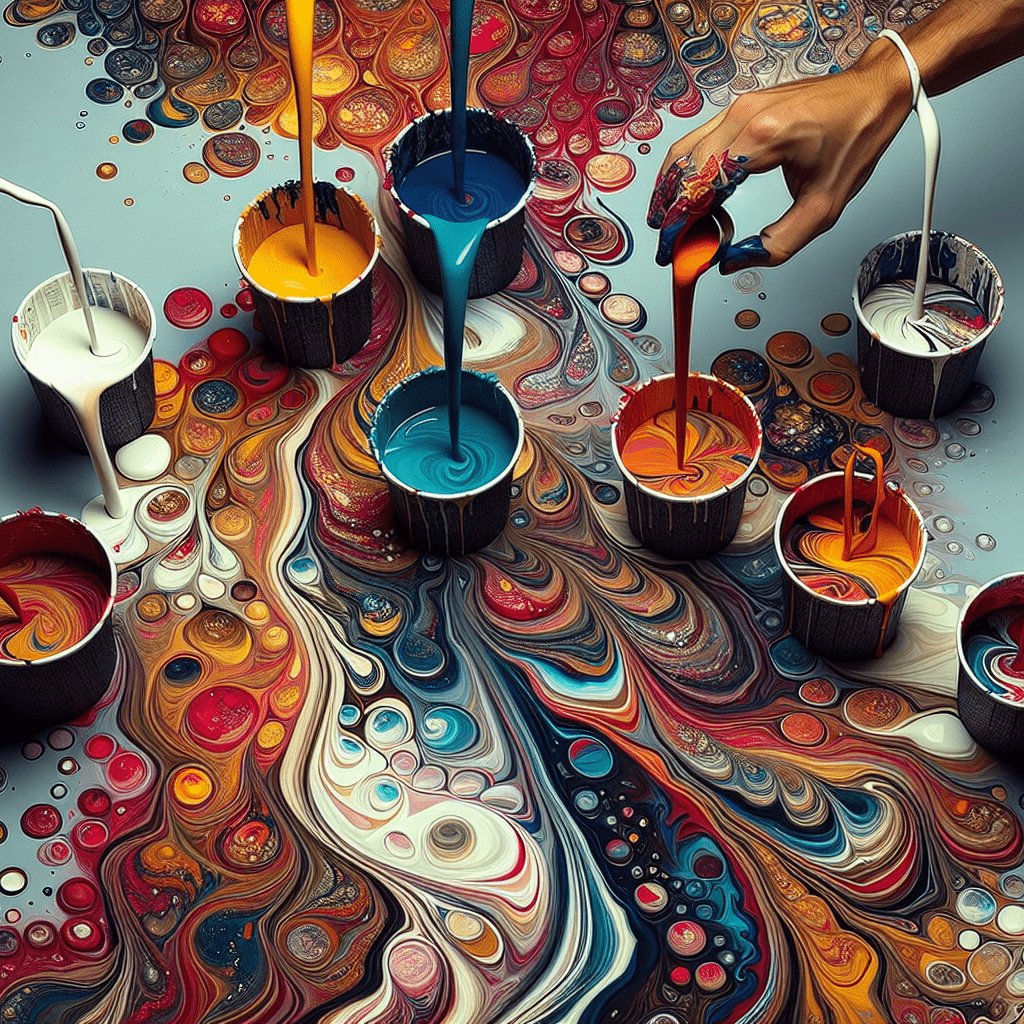
Welcome back to Painters Forum! In this article, we will be exploring the exciting world of Acrylic Paint Pouring. We will cover everything you need to know, from the materials and supplies required to the chemistry behind creating stunning paint pours. So grab your gloves and get ready to unleash your creativity! Remember, when it comes to pouring paint, there are no rules, just steps. Let’s dive in and discover the beauty of multi-cup pouring techniques that will leave you with epic paint pours every time.
Paint Pouring
Welcome back to Painters Forum! Today, I will be guiding you through the exciting and creative process of creating an acrylic paint pour using multiple cups. In this article, I will walk you through the materials and supplies you’ll need, as well as the step-by-step process to achieve stunning results every time. So grab your gloves, let your creativity flow, and let’s dive in!

Materials and Supplies
Before we begin, let’s gather all the necessary materials and supplies for your multi-cup paint pour. Here’s what you will need:
- Small 1 ounce cups: These will serve as your pouring vessels.
- Silicone Pouring Oil: Used to create cells and enhance paint separation.
- Colors for the pour: You can choose any acrylic paint colors you desire.
- Torch: Optional, but highly recommended for creating unique effects in the paint.
Preparing the Colors
To ensure the best results, it’s important to properly prepare the colors for your paint pour. Here’s what you need to do:
- Adding silicone oil to the paint: Before pouring your paint into the cups, add a small amount of silicone oil to each color. This will help create beautiful cells in your final artwork.
- Shaking the paint well: Once you’ve added the silicone oil, make sure to shake each paint bottle thoroughly to ensure that the oil is evenly distributed throughout the color.
Step 1: Adding the Colors
Now that your colors are prepared, it’s time to add them to the cups. Here’s how:
- Adding the colors with silicone oil to the cups: Start by pouring each color into separate cups, making sure to include the desired amount of silicone oil in each cup. Remember, the silicone oil enhances cell activity and adds an extra dimension to your pour.
Step 2: Adding Sand Color
To create an interesting texture and contrast in your artwork, we’ll be adding a small amount of sand color to the white. Follow these steps:
- Adding a small amount of sand color to the white: Take a small amount of sand color and pour it on top of the white in one of the cups. This will create a fascinating blend of colors when poured onto the canvas.

Step 3: Adding Bright Orange
Next, we’ll be adding a vibrant and eye-catching bright orange color to the mix. Here’s what you need to do:
- Pouring the bright orange onto the white: Take the cup with the bright orange color and pour it onto the cup containing the white and sand color. This will create a beautiful contrast and add depth to your artwork.
Step 4: Adding Metallic Bronze
To introduce a touch of elegance and uniqueness to your paint pour, we’ll be incorporating a small amount of metallic bronze. Follow these steps:
- Pouring a small amount of metallic bronze: Take a separate cup and pour a small amount of metallic bronze into the mix. Be careful not to overdo it, as a little goes a long way when it comes to metallics.
Step 5: Flipping the Cups
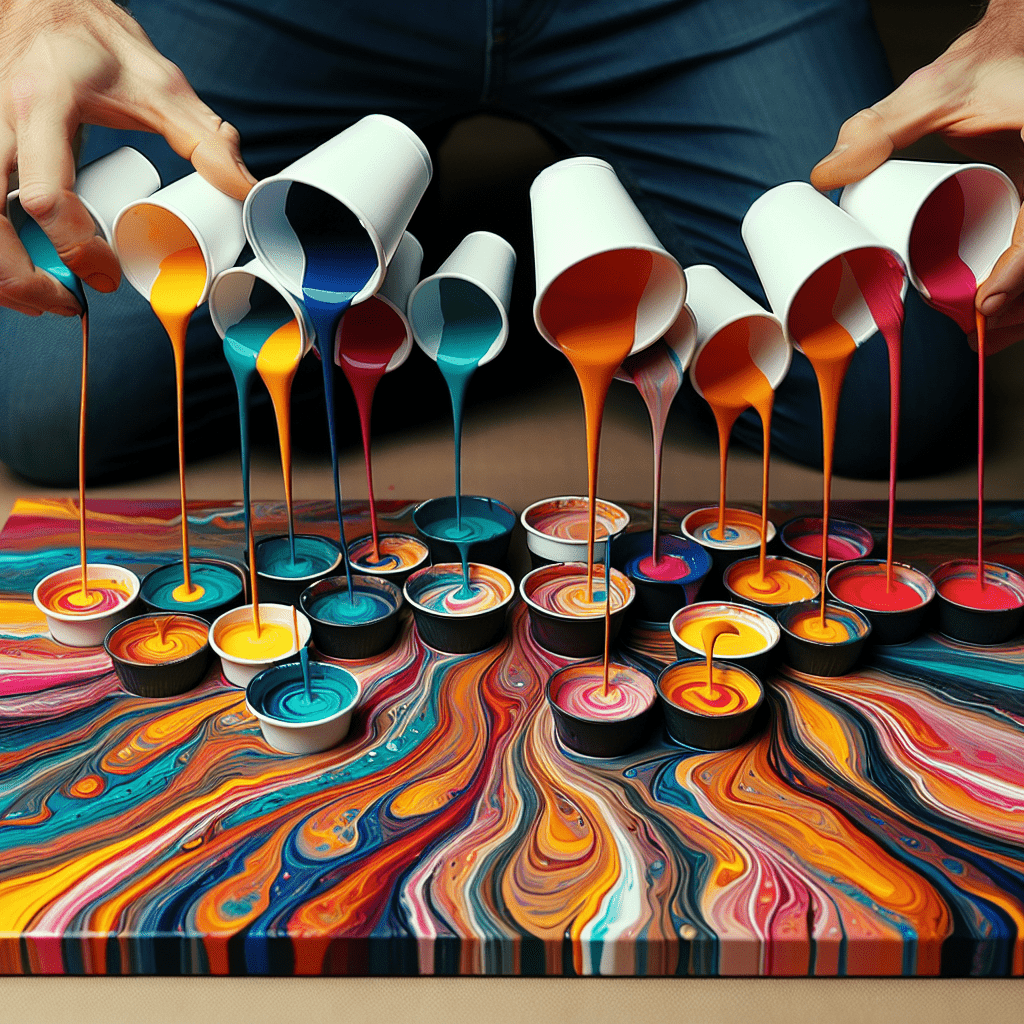
Now it’s time to transfer the paint from the cups onto the canvas. We’ll be using a multi-cup pour technique for added color mixing and variance. Here’s what you need to do:
- Flipping the cups onto the canvas: Carefully flip the cups upside down onto the canvas. This will allow the paint to flow and mix with each other as it drips onto the canvas.
Step 6: Allowing the Paint to Run
Once the cups are flipped, we need to give the paint time to run and mix within the cups before lifting them off the canvas. Follow these steps:
- Leaving the cups upside down for a few minutes: Allow the cups to remain upside down on the canvas for a few minutes to ensure that all the paint has dripped out.
- Allowing the paint to mix within the cups: During this time, the paint will naturally mix and create fascinating patterns and cells within the cups. This is where the magic happens!
Step 7: Lifting the Cups
Now it’s time to reveal your masterpiece by lifting the cups off the canvas. Here’s what you need to do:
- Lifting the cups off the canvas: Carefully lift each cup off the canvas, revealing the beautiful patterns and colors created by the paint pour.
- Tilt the canvas to cover all edges: Once the cups are removed, tilt the canvas in different directions to ensure that the paint covers all edges and creates a harmonious composition.
Step 8: Applying Torch Heat
For added visual interest and effects in your paint pour, we’ll be using a torch to create separation and enhance the cell formations. Follow these steps:
- Using a torch to create separation and effects in the paint: Use a torch with an actual flame to gently heat the surface of the paint. Move the torch quickly over the wet paint to create unique shapes and patterns. The heat will cause the cells to expand and create a mesmerizing visual effect.
And there you have it, a comprehensive guide to creating a stunning multi-cup paint pour! Remember, there are no rules when it comes to pouring paint, so feel free to experiment with different colors, techniques, and effects. Let your creativity flow, be bold, and enjoy the process. Happy pouring!


