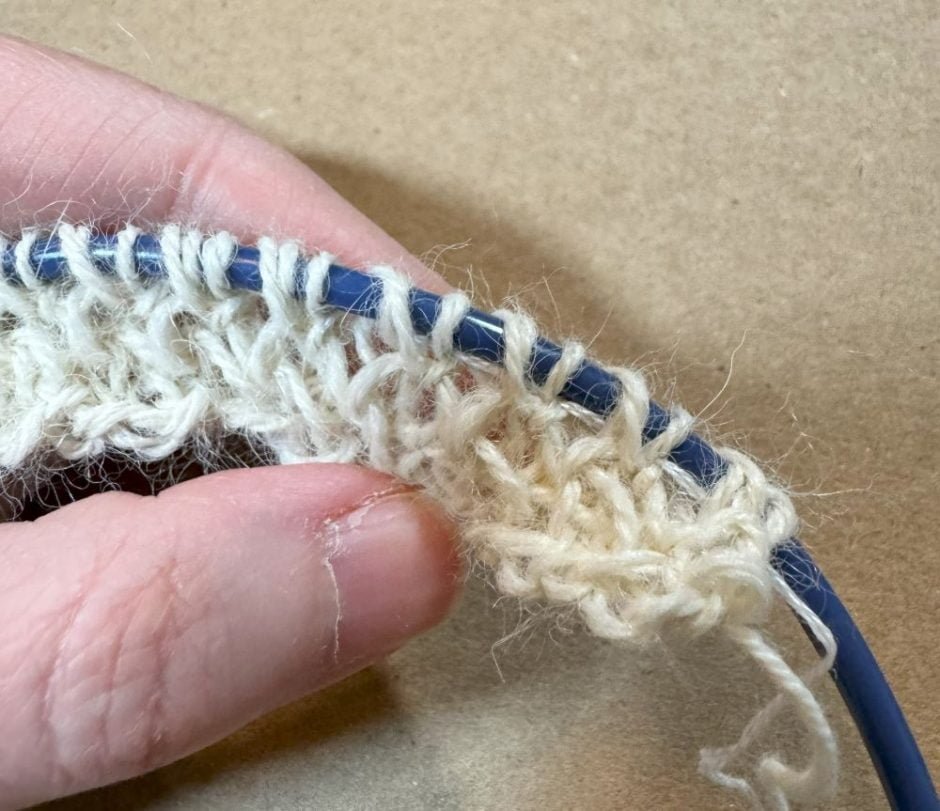
Knowing how to use a lifeline in knitting can be a big help when you are learning new skills such as lace or cables, or when working a complicated project that might be difficult to rip back.
I’ve been working on a project with a somewhat complicated brioche pattern and I decided I had to use a lifeline because I kept messing it up and having to rip back to the beginning because I couldn’t figure out how to pick up a row I’d done correctly otherwise.
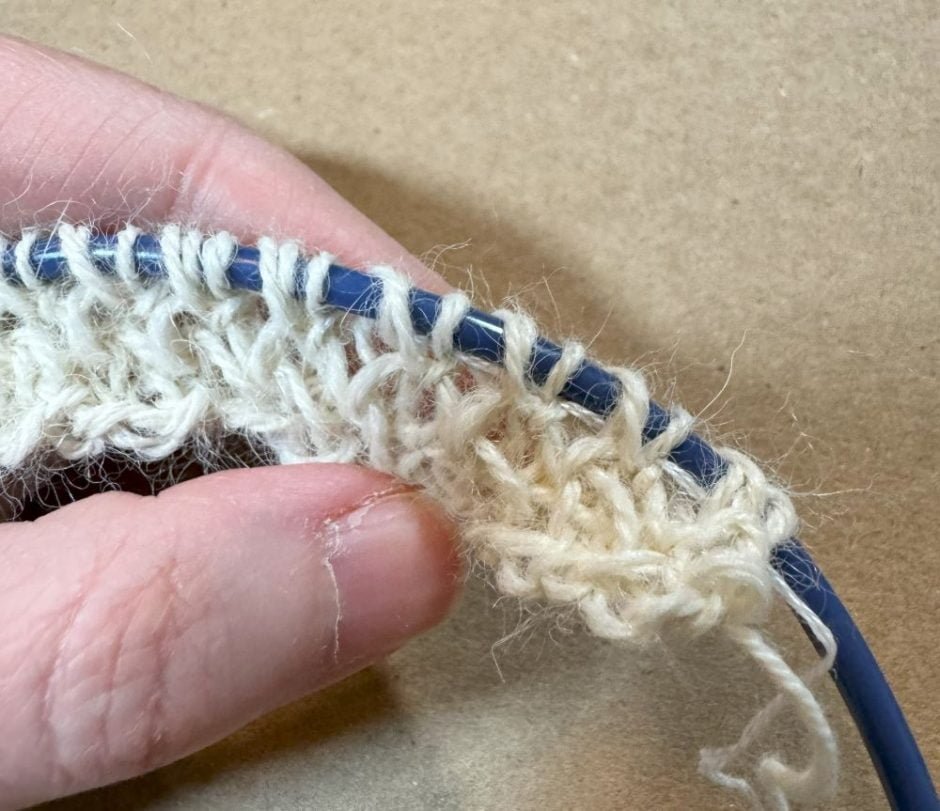
This reminded me of how useful a lifeline can be, and it’s really easy to install and use.
What is a Lifeline?
A lifeline in knitting is just a piece of yarn or thread that is slipped into all the stitches on a row that you know you’ve worked correctly. If there’s a rest row in your pattern (all knits or all purls, for example, or a row without any cable turns) a great time to use a lifeline is right after you’ve worked that row.
If you mess up at any point in the future you can tear out the knitting back to that row. The yarn through the stitches catches them so you can’t pull back further. Then you just put these stitch back on the needle and start knitting again from that point.
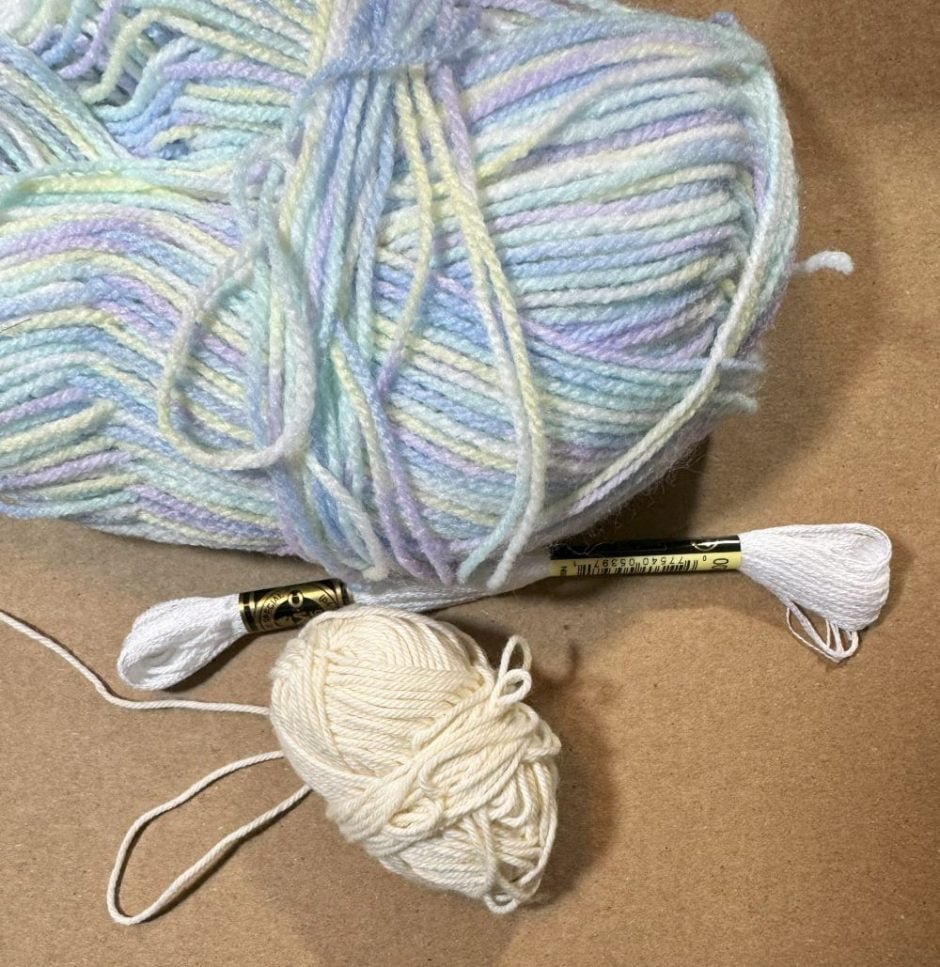
You’ll want to use yarn that is thinner than the yarn you are knitting with, and something light colored that won’t risk transferring dye to your project. If you’re using thin yarn you can also do this with a few strands of embroidery floss, as shown above.
How to Use a Lifeline
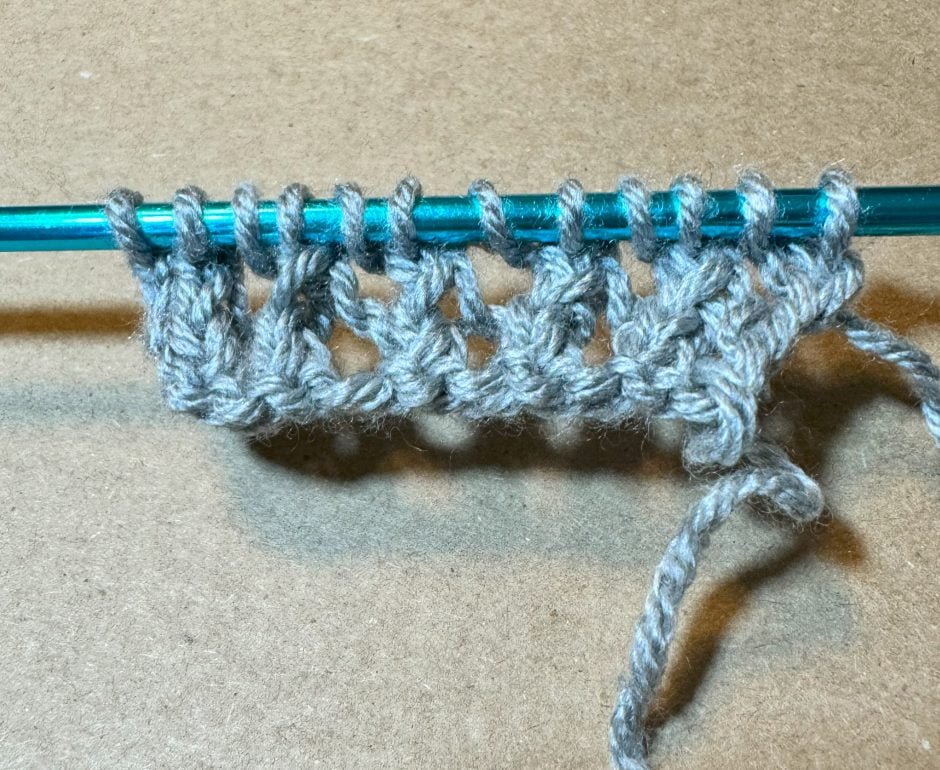
I usually knit a few rows without a lifeline if I can, so in this sample (worked in Lion Brand Basic Stitch with size 8 US/5mm knitting needles) I’ve worked four rows. The pattern is lace trellis, which repeats yarn over, knit 2 together across on one row and purling on the second row.
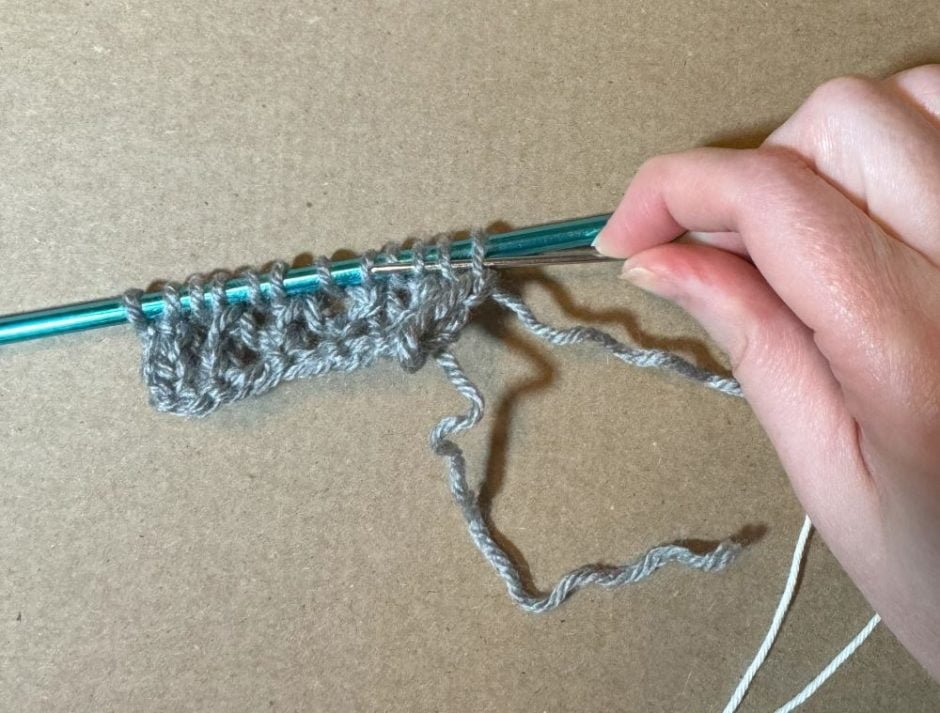
After finishing the purl row, I turned the work and threaded some thin yarn (Lion Brand Bonbons, in this case) onto a yarn needle. You want a needle that isn’t sharp so you don’t pierce the stitches while you work.
Guide the yarn needle into the stitch on the knitting needle. You want to go through the stitch, not into the yarn at all.
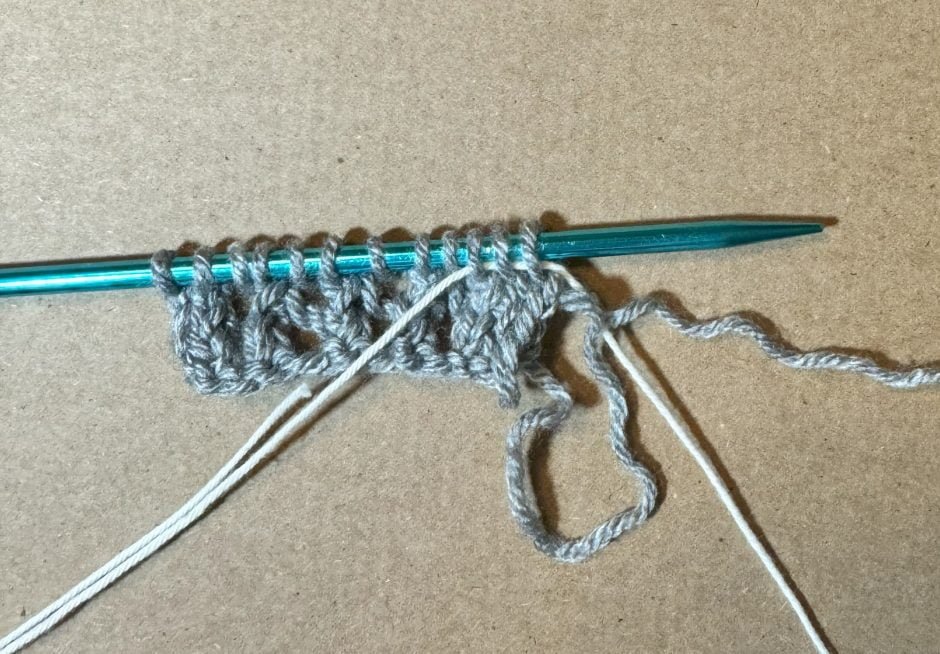
You can grab a few stitches at a time, then pull your thread or yarn through.
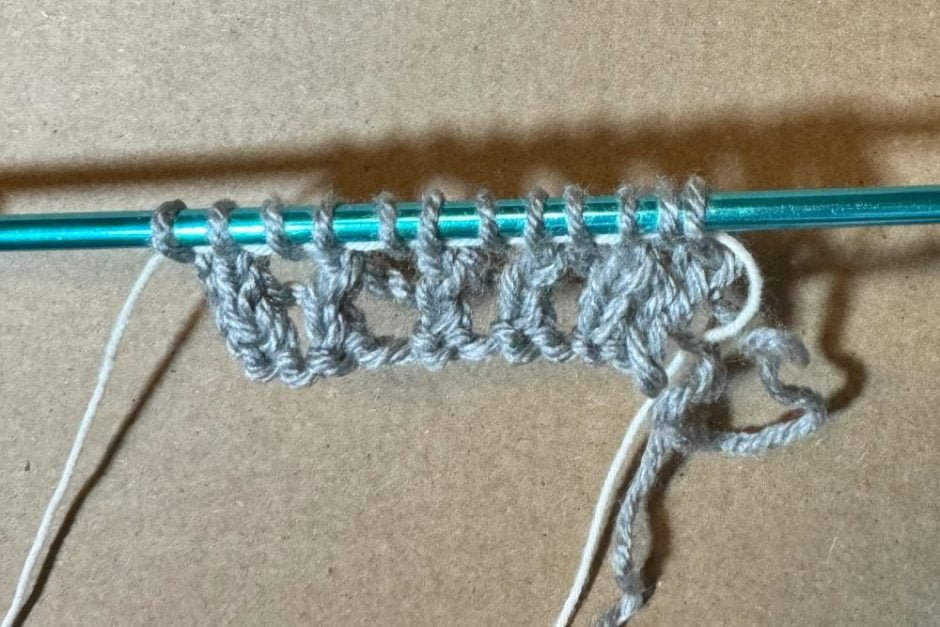
When you’re done, the yarn will be sitting just below the knitting needle and going through each stitch.
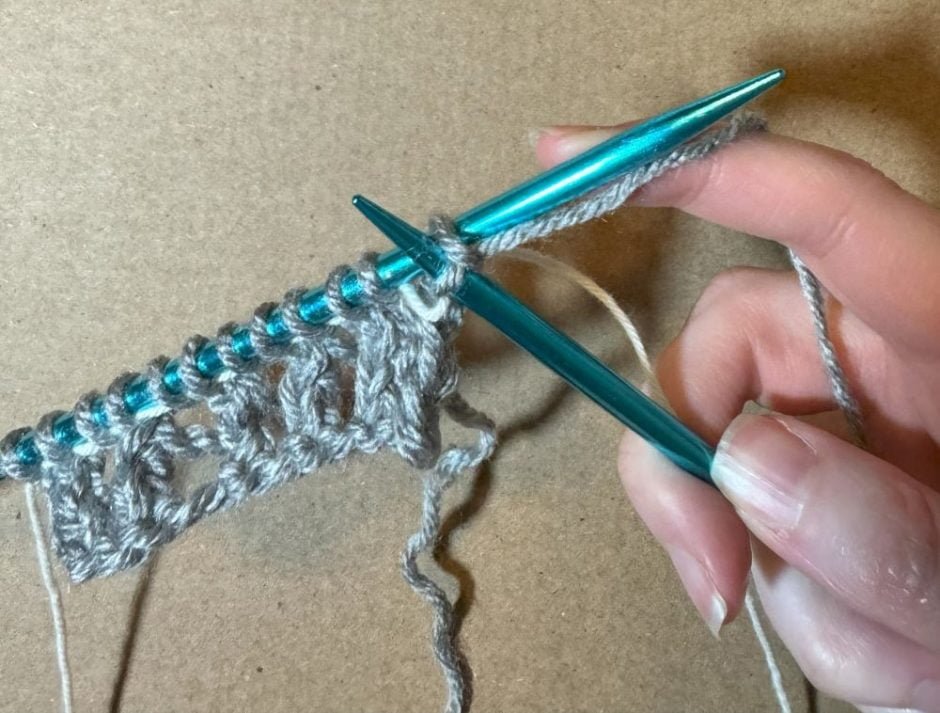
Continue knitting as normal, making sure on that first row after you installed the lifeline that you are just knitting the stitches and not working through the lifeline, too.
Moving a Lifeline
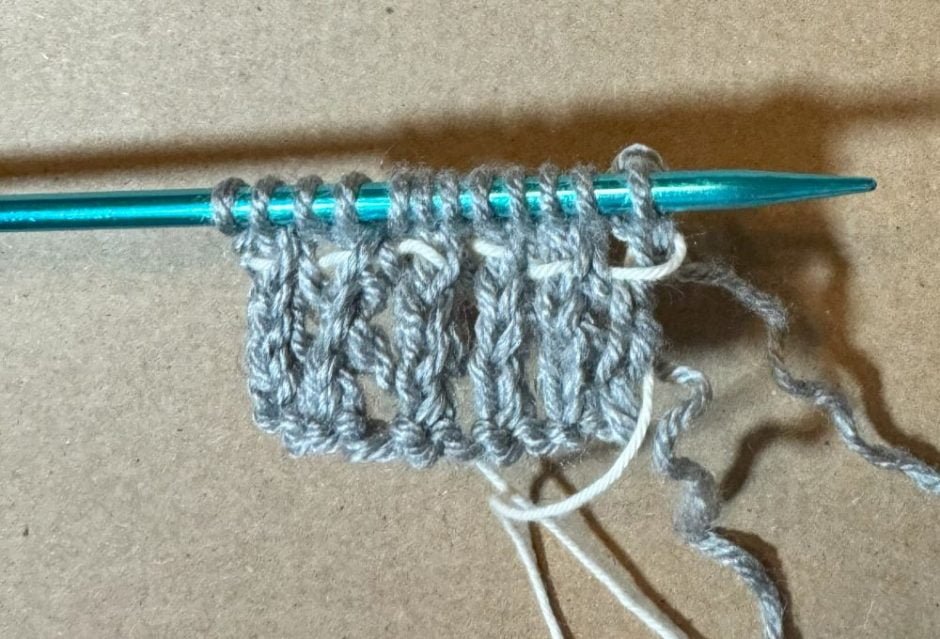
You’ll want to move your lifeline or use a new lifeline every so often so that you don’t have to rip back as far if you need to use it. It’s a good idea to always place it in the same row of your repeat, especially if it’s a long repeat or there’s not a rest row to put it in.
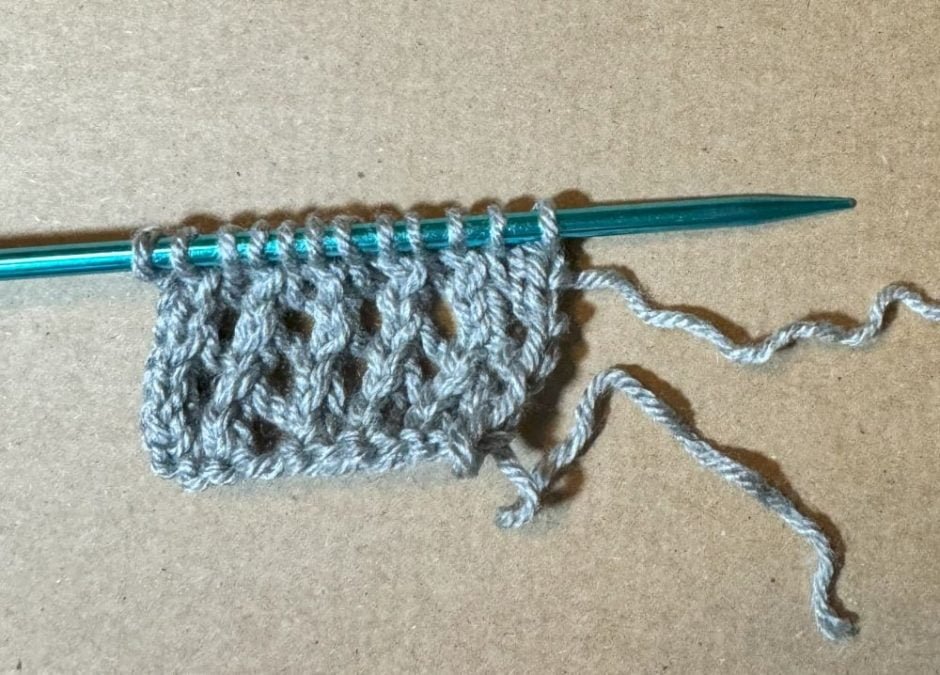
Once you’ve completed that row again, gently pull on the lifeline to remove it from your knitting.
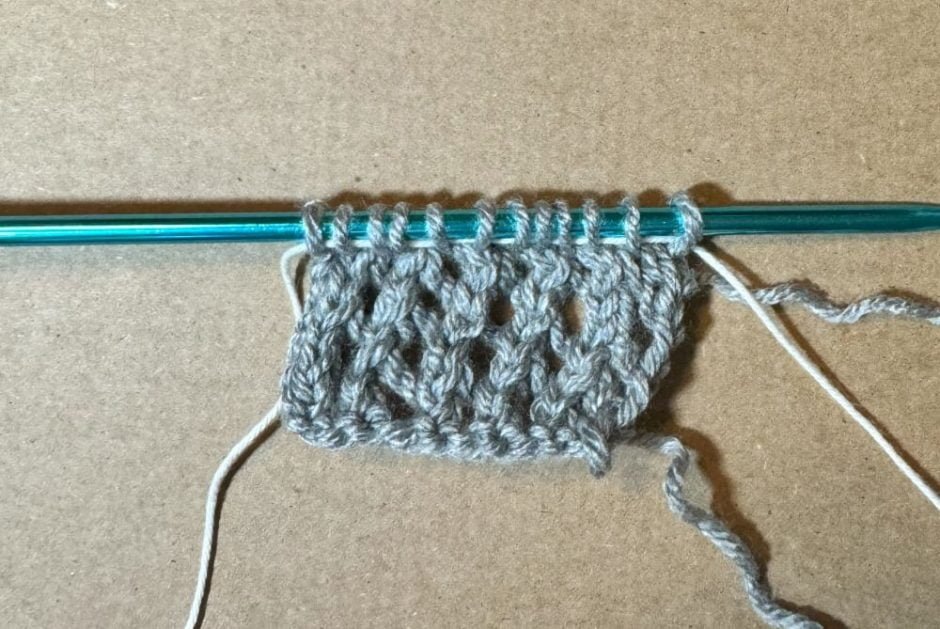
Install it just as you did before.
Use a Lifeline to Rip Out Knitting
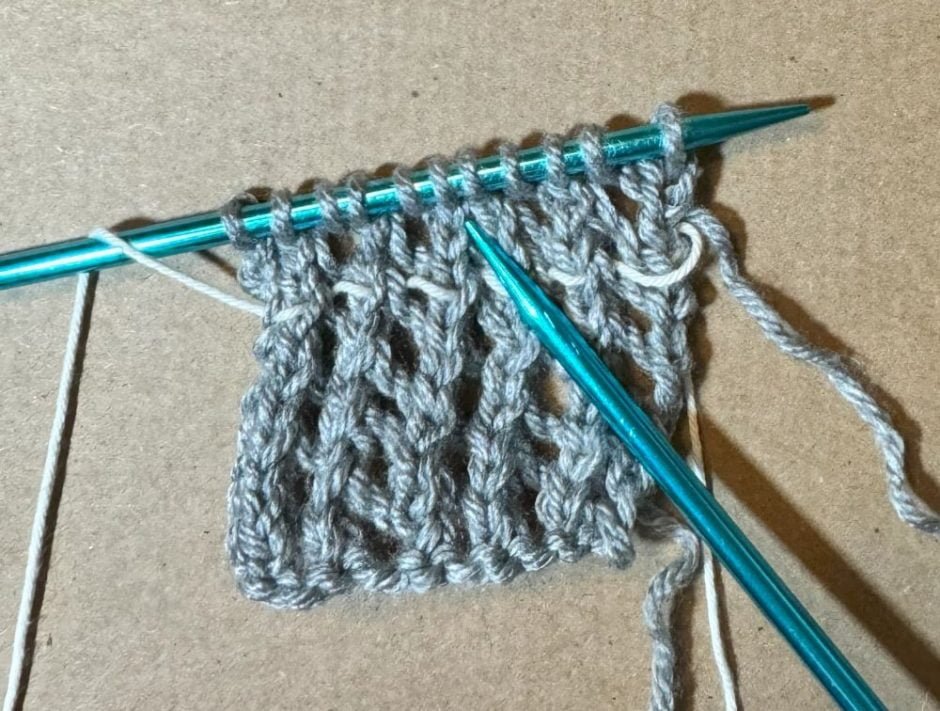
The magic of why you would want to use a lifeline comes when you have to rip back because you messed up your pattern. To illustrate, here I skipped one yarn over so my stitch count and pattern is now off.
I could rip back stitch by stitch to get back to where I messed up, but you can imagine how unpleasant that would be on a longer piece of knitting and if you had to rip back several rows. The project I’m using a lifeline on has 108 stitches and is a fuzzy alpaca yarn (and includes lots of yarn overs and slipped stitches) so a lifeline really is a lifeline that’s saving my sanity.
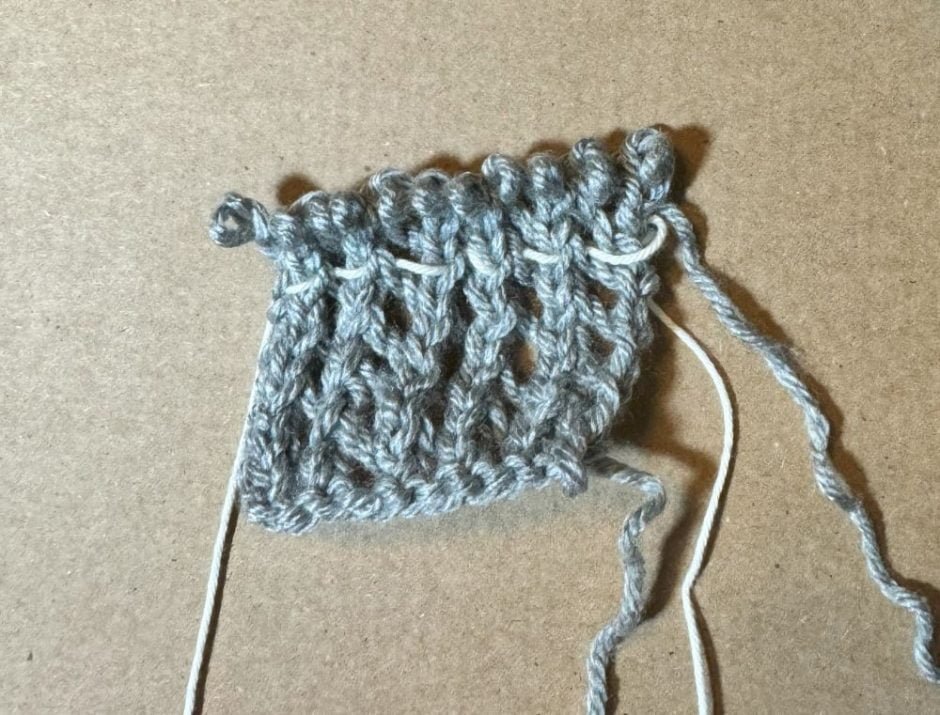
With the lifeline installed, just pull out the knitting needle.
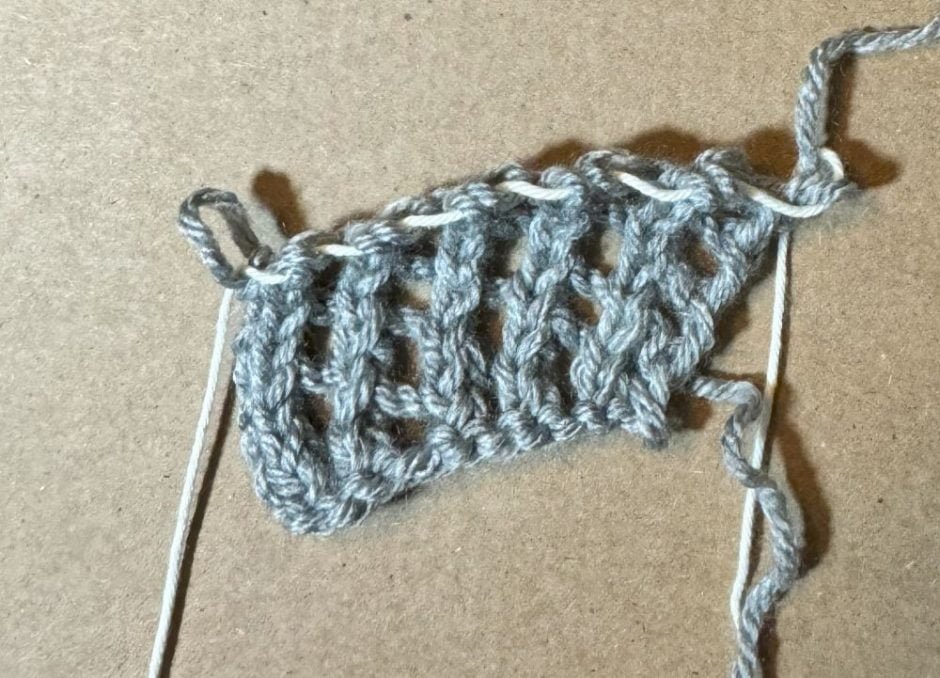
Gently tug on the working yarn so the stitches will rip back. Keep going until you can’t anymore.

The lifeline will catch all the stitches on that same good row. If you place your lifeline consistently in the same place you should know right where you are to start knitting again.
Just leave the lifeline where it is for now and continue to move it up as needed.
Do you use a lifeline in your knitting? If it’s ever come in handy for you, you know how great they are!
The post How to Use a Lifeline in Knitting appeared first on Our Daily Craft.

