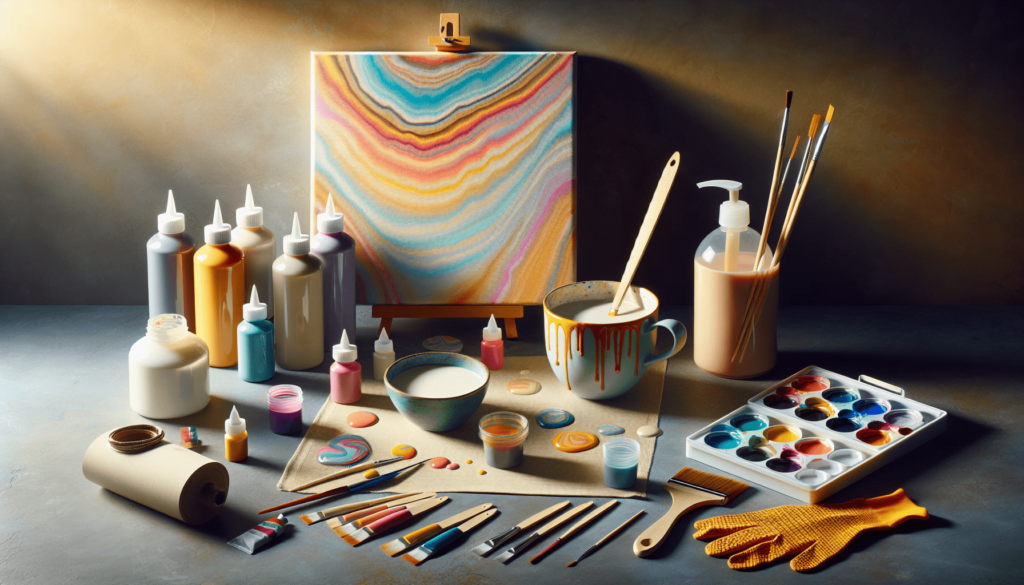
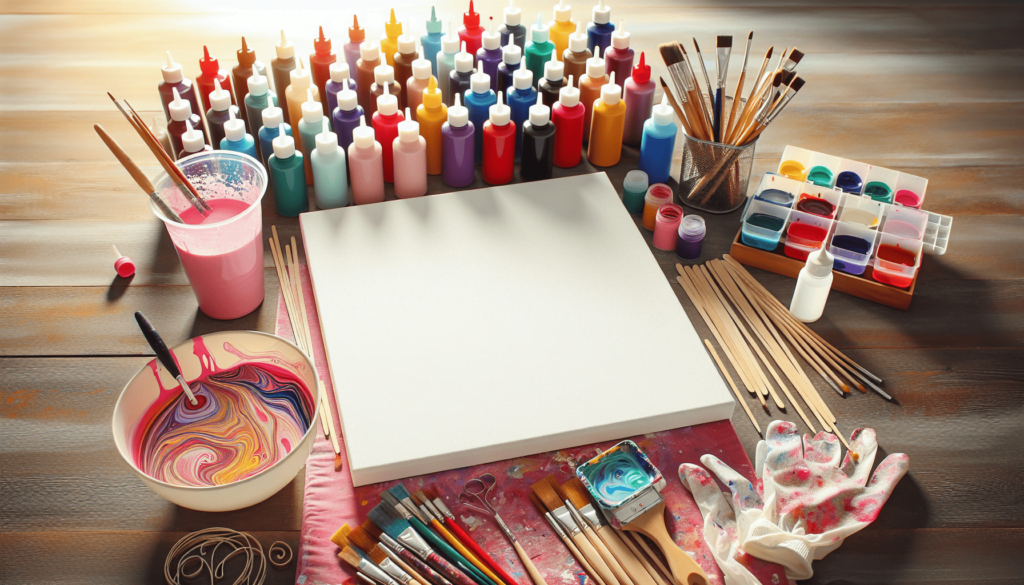
Paint pouring is a captivating and colorful art form that can quickly become addictive. This guide provides everything you need to know, from selecting materials to exploring techniques, so you can start paint pouring with confidence and create stunning art pieces.
Introduction
Paint pouring is an art form that is both messy and magical. There’s something extraordinary about watching different colors meld and dance across a canvas, transforming what was once blank into a stunning masterpiece. This guide is here to ensure you set off on the right foot, without the confusion that often accompanies starting something new.
Essential Supplies
Before you begin your paint pouring adventure, it’s important to gather the right supplies. Believe me, having everything you need at your fingertips makes the experience much smoother and more enjoyable.
Paints
When it comes to paint pouring, acrylic paints are your best friend. They’re versatile, mix well, and dry relatively quickly. You have two basic choices: ready-to-pour paints or traditional acrylics that you mix yourself. Each has its own merits.
Ready-to-Pour Paints
Ready-to-pour paints save time and effort. They’re pre-mixed with the perfect consistency, meaning you can open the bottle and get to work immediately.
Pros:
- Convenient and quick to use.
- Consistent results without the need for prior mixing experience.
Cons:
- Generally more expensive.
- Limited to the colors and brands available.
Traditional Acrylics: Soft Bodied vs. Heavy Bodied
Traditional acrylic paints require a bit more preparation but offer greater flexibility in terms of color and texture.
Soft-bodied acrylics are thinner and flow easily. These are great for beginners as they spread well without too much effort.
Heavy-bodied acrylics are thicker and can add interesting textures to your artwork. They might require more mixing to achieve the right pouring consistency.
Recommended Brands
It’s good to start with quality paints to ensure durability and vibrant colors. Some tried-and-true brands that artists swear by include:
| Brand | Description |
|---|---|
| Golden | Known for its rich, vibrant colors and smooth texture. |
| Amsterdam | Offers high pigmentation and excellent flow. |
| Arteza | Budget-friendly and great for beginners. |
| Mont Marte | Affordable with a nice variety of colors. |
| Pebeo | Good quality and easy to mix. |
| DecoArt | Provides a wide range of colors and finishes. |
| FolkArt | Available in craft stores, good for different projects. |
| Artist’s Loft | Great for beginners with decent quality. |
| Liquitex Basics | Versatile and reliable for various techniques. |
Pouring Medium
A pouring medium is indispensable. It ensures the paint flows well, develops an even texture, and doesn’t crack as it dries.
Commercial Pouring Mediums
Using a pre-made pouring medium simplifies the process and guarantees consistent results. Here are a couple of reliable options:
- Liquitex Pouring Medium: A favorite among artists for its reliability and ease of use.
- GAC 800 by Golden: Excellent for preventing cracks and providing a glossy finish.
DIY Pouring Medium Recipe
If you’re feeling crafty or on a budget, making your own pouring medium can be rewarding. Here’s a simple recipe:
- 70% Gloss Mod Podge
- 30% Water
Mix these together thoroughly to create an affordable and effective pouring medium.

Alternatives & Techniques
You don’t always have to stick with commercial products to achieve beautiful results. Let’s explore some alternatives.
Using Floetrol as a Pouring Medium
Floetrol is a paint conditioner that can be found in hardware stores, and it doubles as an effective, affordable pouring medium in some regions.
Pros:
- Cost-effective and widely available.
- Improves paint flow and consistency.
Cons:
- May not be as glossy as commercial pouring mediums.
Mixing Paints with Water
While it’s possible to mix your paints with just water, there are some caveats.
Pros:
- Simplifies the process and is budget-friendly.
Cons:
- Can dilute the paint, affecting color vibrancy and adhesion.
- Increased risk of cracking as the paint dries.
When using this method, it’s advisable to opt for high-quality paints like those from Amsterdam to maintain the integrity and quality of your artwork.
Paint Pouring Bases and Techniques
Paint pouring isn’t limited to canvases. You can pour on a variety of surfaces, each requiring its own preparation.
Bases
You can use almost anything as a base for paint pouring: canvases, wooden panels, glass, ceramics, and even tiles. Here are a few popular choices:
| Base Type | Preparation Needed |
|---|---|
| Canvas | Ensure it’s pre-stretched or mounted and apply gesso. |
| Wooden Panels | Sand and clean the surface, then apply gesso. |
| Glass/Ceramics | Clean thoroughly, apply a primer for better adhesion. |
| Tiles | Clean and prime; gesso may be used for a better surface. |
Importance of Using Gesso
Applying gesso before you start pouring is crucial for achieving the best results. Gesso primes the surface, allowing the paint to adhere properly and ensuring vibrant, consistent colors.
Steps to Apply Gesso:
- Use a wide brush or a roller to apply a thin, even layer of gesso.
- Allow it to dry completely.
- Lightly sand the surface if necessary, then apply a second coat.
- Ensure the final layer is completely dry before starting your pour.

Important Considerations
To create beautiful, uniform art, there are some important factors to keep in mind.
Maintaining a Level Surface
A level surface is essential to achieving an even distribution of paint. If your surface is tilted, the paint will flow unevenly, resulting in distorted patterns. Use a spirit level to ensure your workspace is flat before you start pouring.
Silicone Oil
Some artists use silicone oil to create cells—bubbles of color that form unique patterns. While this technique is popular, I personally prefer not to use it. Silicone can make the artwork difficult to seal later and may affect the longevity of your pieces.
Tools and Additional Tips
Lastly, having a variety of tools and a few extra tips can elevate your paint pouring experience.
Essential Tools
Having the right tools can make the process smoother and more enjoyable:
| Tool | Purpose |
|---|---|
| Disposable Cups | For mixing paints and pouring mediums. |
| Stir Sticks | To thoroughly mix your paints and mediums. |
| Plastic Drop Cloths | To protect your workspace from paint spills. |
| Pallet Knife | For spreading paint and creating textures. |
| Gloves | To keep your hands clean and free from paint. |
| Torch or Heat Gun | To pop air bubbles and improve cell creation. |
Experimentation
One of the joys of paint pouring is experimentation. Try different color combinations, pouring techniques, and tools to create various effects. Don’t be afraid to make mistakes; often, your best work will come from unplanned moments and happy accidents.
Conclusion
Paint pouring is a delightful and liberating form of artistic expression. With the right supplies, techniques, and a bit of preparation, you can create stunning art pieces that truly reflect your creativity. Remember, the journey is just as beautiful as the outcome. So grab your supplies, find a comfortable workspace, and let the colors flow!

