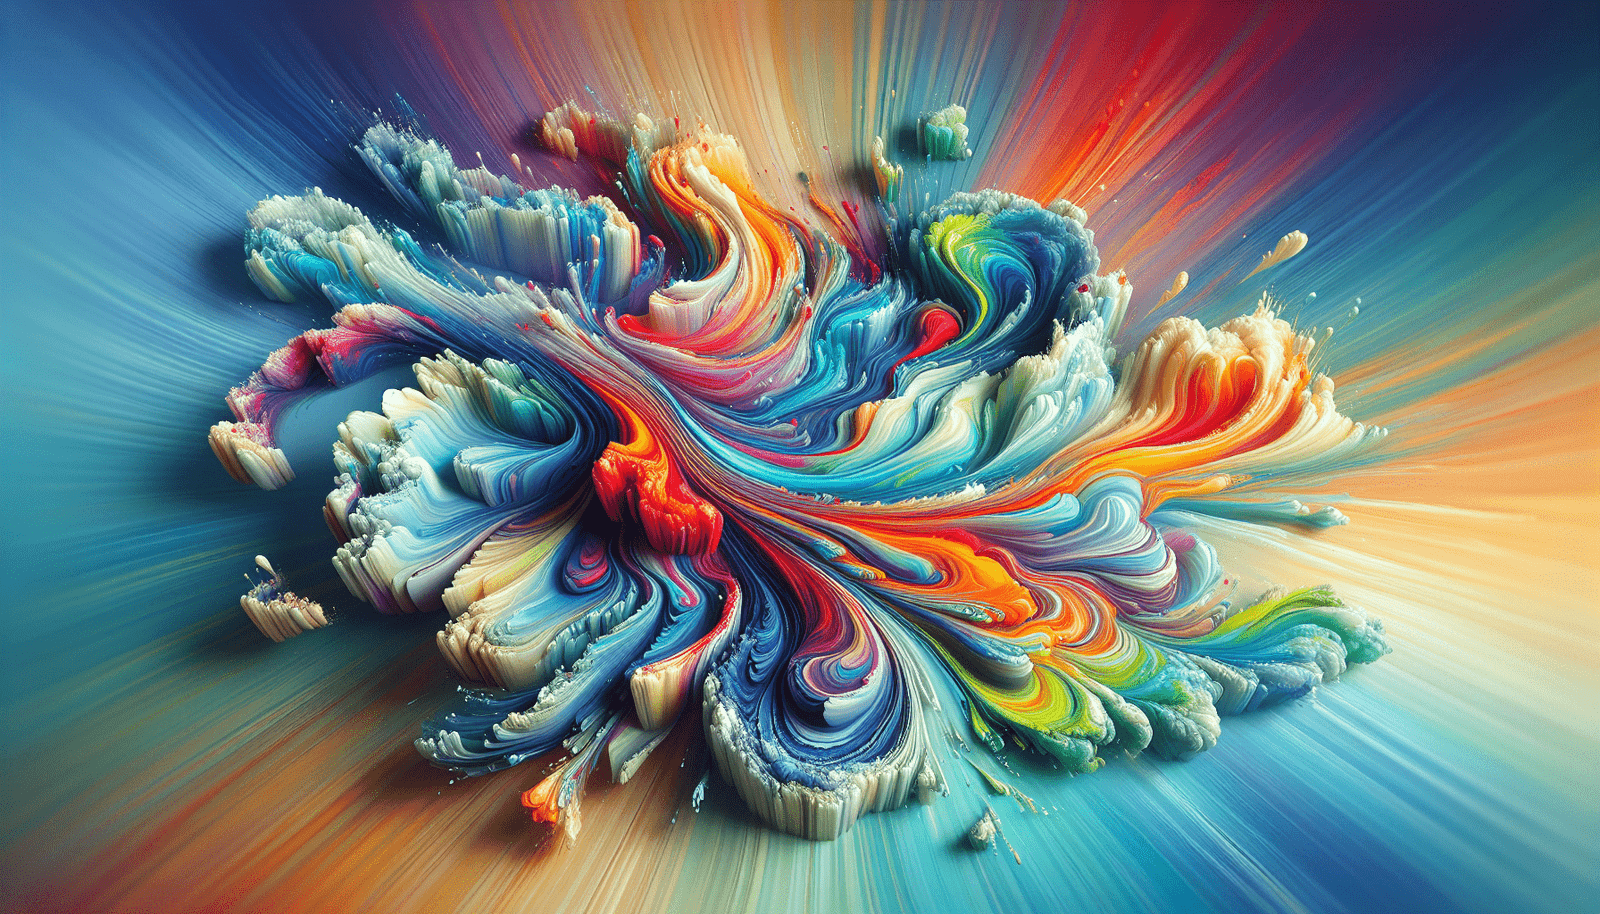
This guide, A Guide on How to Choose Your Paint Pouring Colors, is a valuable resource for artists interested in paint pouring. It provides essential tips to help you select colors that harmonize and make your artwork stand out. Whether you’re a beginner or an experienced artist, this guide will bring your creative visions to life. Discover tips, tricks, and insights to create your next masterpiece.
Understanding Color Basics
Before we dive into the specifics of paint pouring, it’s essential to understand some basic color theory. Don’t worry, you don’t need a degree in fine arts to grasp these concepts. You’ll learn about primary, secondary, and tertiary colors, along with some exciting color schemes.
Primary Colors
Red, blue, and yellow are your starting points. These three colors can’t be created by mixing other colors. They are the foundation of all other colors.
Secondary Colors
Combine two primary colors, and you get a secondary color. They are:
- Red + Blue = Purple
- Blue + Yellow = Green
- Yellow + Red = Orange
Tertiary Colors
Mix a primary color with a secondary color to get tertiary colors. For example:
- Red + Orange = Red-Orange
- Blue + Green = Blue-Green
Warm vs. Cool Colors
Understanding the temperature of colors can add depth to your artwork. Warm colors (reds, oranges, yellows) evoke warmth and energy, while cool colors (blues, greens, purples) bring a calming, soothing effect.
Choosing Your Color Scheme
Now that you’re well-versed in the basics, let’s talk about color schemes. These schemes will help you create harmonious and visually appealing compositions.
Monochromatic Scheme
Using various shades, tints, and tones of a single color, this scheme provides a sleek and unified look. For instance, you can choose different shades of blue to create a tranquil, cohesive piece.
Analogous Scheme
This scheme uses colors that are next to each other on the color wheel. They naturally harmonize and are pleasing to the eye. For example, yellow, yellow-green, and green can create a vibrant and lush artwork.
Complementary Scheme
Complementary colors are opposite each other on the color wheel, such as red and green or blue and orange. These contrasts can make your artwork pop with vibrancy and energy. However, use them carefully to avoid overwhelming your piece.
Split-Complementary Scheme
A variation of the complementary scheme, this uses one base color and two secondary colors adjacent to its complement. This approach offers high contrast without the intensity of direct complements.
Triadic Scheme
A balanced and visually appealing scheme that uses three colors evenly spaced around the color wheel. For instance, a triadic scheme involving red, blue, and yellow can create a dynamic and lively composition.
Tetradic (Double-Complementary) Scheme
Using two pairs of complementary colors, this scheme offers a wide range of possibilities and usually results in more vibrant and complex artwork. Although it can be challenging to balance, the final outcome is often worth the effort.

Factors to Consider When Choosing Paint Pouring Colors
Choosing colors for paint pouring isn’t just about the color wheel and schemes; several other factors can influence your decision.
Personal Preference
The simplest yet most crucial aspect. What colors do you love? What emotions or memories do certain colors evoke for you? Your personal preference should always guide your choices.
Mood and Purpose
Do you want your artwork to feel energetic or calming? The mood you’re aiming for can guide your color choices. Think about the environment where your artwork will be displayed. Is it a lively living room or a tranquil bedroom?
Type of Paint
Different types of paint (acrylics, oils, etc.) can behave differently when mixed. Acrylics are most commonly used for pouring because they mix easily and dry quickly.
Transparency and Opacity
Some paints are more transparent, while others are very opaque. Combining different levels of transparency can create depth and intricate details in your artwork.
Color Mixing and Chemistry
Be aware that some colors don’t mix well together and may result in a muddy appearance. Experimenting and testing small samples before committing to a larger piece can save you from potential disappointment.
Surface and Background
The surface and background you’re painting on can greatly influence how the colors appear. For instance, a white canvas will make colors look vibrant, while a black one will add depth and darkness.
Practical Tips and Techniques
Now that you’ve got the theory down, let’s talk about some practical tips to make your paint pouring experience smooth and enjoyable.
Preparing Your Workspace
- Cover your space: Use plastic sheets or old newspapers to protect your workspace.
- Gather tools: Have all your materials ready, including paints, pouring medium, mixing cups, stir sticks, and gloves.
- Organize: Keep everything within arm’s reach to maintain a smooth workflow.
Mixing Your Paint
- Ratios: Mix your paints with a pouring medium in a 1:1 ratio for a good consistency.
- Stirring: Stir thoroughly to ensure the colors are evenly mixed.
- Test: Do a test pour to see how the colors interact before committing to a larger piece.
Layering Colors
- Order matters: The order in which you layer your paints can influence the final result. Typically, heavier (denser) colors sink while lighter (less dense) colors float.
- Experiment: Try different layering techniques to see what works best for your style.
Techniques for Pouring
- Dirty Pour: Mix all your colors in one cup and pour it in one go. This technique creates natural swirls and cells.
- Flip Cup: Layer your colors in a cup, place the canvas on top, and then flip both together so the cup is upside down on the canvas. Lift the cup to release the paint.
- Puddle Pour: Pour individual colors directly onto the canvas in separate puddles, then tilt the canvas to mix them.
- Swipe: Pour colors onto the canvas and then use a tool like a palette knife or a piece of cardboard to swipe through them. This technique can create intricate patterns and cells.

Troubleshooting Common Issues
Sometimes things don’t go as planned, and that’s okay! Here are some common issues and how to resolve them.
Muddy Colors
If your colors blend too much and turn muddy:
- Reduce mixing: Use fewer colors and avoid over-mixing.
- Choose wisely: Select colors that are adjacent on the color wheel.
Cracking
Cracking can occur if the paint dries too quickly:
- Humidity: Work in a room with controlled humidity and temperature.
- Pouring medium: Ensure you’re using enough pouring medium to keep the paint flexible.
Bubbles
Bubbles can be pesky and ruin your smooth finish:
- Torching: Use a small torch to eliminate bubbles after pouring.
- Slow mixing: Mix your paints slowly to avoid creating bubbles in the first place.
Sealing and Finishing Your Artwork
Once you’re satisfied with your pour, it’s important to seal and finish your piece to protect it and enhance its appearance.
Waiting for it to Dry
Patience is key. Let your artwork dry for at least 24-72 hours, depending on the humidity and thickness of the paint.
Varnish or Resin
- Varnish: A good option for a solid, protective finish. It’s easy to apply and comes in different finishes (gloss, satin, matte).
- Resin: Provides a high-gloss, glass-like finish and adds depth to colors. However, it’s more challenging to apply and can be expensive.
Final Thoughts and Encouragement
Choosing your paint pouring colors should be a fun and creative process. With a bit of knowledge and some experimentation, you’ll be able to create stunning pieces that reflect your unique artistic vision.
So, now it’s time to pour your heart into your art! Happy painting!