Discover the different pouring mediums for paint pouring in A Comprehensive Breakdown of Different Pouring Mediums for Paint Pouring. This guide teaches you about each medium’s unique properties, effects, and textures, helping you enhance your artwork. Whether you’re a beginner or an experienced artist, this breakdown will elevate your craft by providing essential knowledge.
A Comprehensive Breakdown of Different Pouring Mediums for Paint Pouring
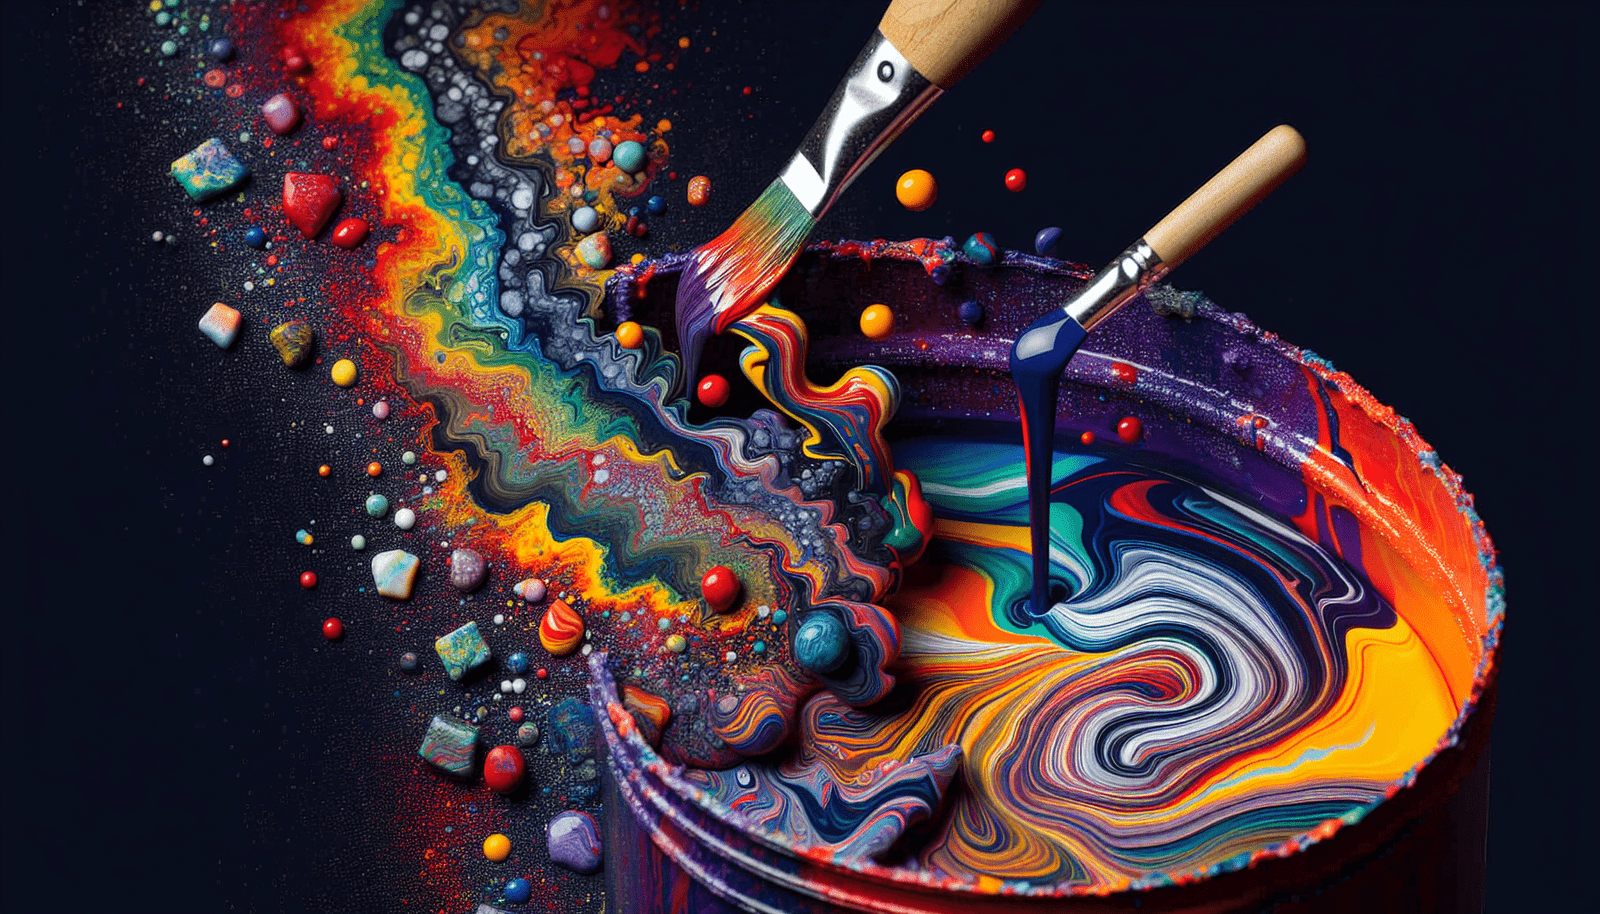
In this guide, we will explore the wondrous world of pouring mediums. Whether you’re a novice artist or an experienced one looking to refine your skills, understanding these mediums will completely transform your paint pouring technique. Let’s dive right in!

What is a Pouring Medium?
A pouring medium is a substance that you mix with acrylic paint to enhance its fluidity without compromising its color or adhesive qualities. Pouring mediums modify the paint in a way that makes it easier to manipulate and spread across a canvas. These mediums help in reducing the formation of unwanted air bubbles and cracking as the paint dries.
Why Use a Pouring Medium?
You might wonder, “Why can’t I just use water to thin my paint?” Good question! Water can dilute the binder in acrylic paint, leading to undesirable effects like color fading, cracking, and poor adhesion. Pouring mediums are specifically designed to maintain the integrity of the paint while providing the right consistency for pouring.
Benefits of Using Pouring Mediums
Using a pouring medium offers several advantages:
- Consistent Flow: Enhances the fluidity of the paint, making it easier to pour and achieve uniform coverage.
- Color Integrity: Preserves the vibrancy and richness of the colors.
- Drying Time: Modifies the drying time, allowing for smoother blending and layering.
- Minimized Cracking: Reduces the risk of cracking and crazing as the paint dries.
- Cell Formation: Encourages the formation of cells, adding unique textures and patterns.
Now, let’s explore the different types of pouring mediums available in the market and how to use them effectively.
Types of Pouring Mediums
There are various types of pouring mediums, each offering unique characteristics and results. Here’s a detailed breakdown:
1. Acrylic Pouring Mediums
These are specially formulated to mix with acrylic paints. They are widely used and come in various brands and formulations.
Advantages:
- Maintains the color brightness and consistency.
- Helps in forming cells and unique patterns.
Popular Brands:
| Brand | Characteristics |
|---|---|
| Liquitex Pouring Medium | Known for its high-gloss finish and flexibility. |
| Golden GAC 800 | Reduces crazing and enhances flow. |
| DecoArt Pouring Medium | Easy to use and affordable for beginners. |
2. Silicone Oil
Silicone oil is often used as an additive in acrylic pouring to create cells. Only a small amount is needed to produce remarkable effects.
Advantages:
- Promotes cell formation.
- Doesn’t affect the color of the paint.
Usage Tips:
- Add a few drops to your paint mixture.
- Use a torch to bring out the cells once poured.
3. Floetrol
Floetrol is a paint conditioner typically used for house painting, but it has gained popularity in the pour painting community for its performance and affordability.
Advantages:
- Helps in the creation of cells.
- Extends the wet time of the paint, allowing more manipulation.
Pros and Cons:
| Pros | Cons |
|---|---|
| Cost-effective | Not originally designed for art. |
| Widely available | Might require additional varnish for a glossy finish. |
4. PVA Glue (Polyvinyl Acetate)
PVA glue is an accessible and budget-friendly option for beginners. It works surprisingly well as a pouring medium.
Advantages:
- Readily available and inexpensive.
- Provides good adhesion.
Mixing Ratio:
- Mix one part PVA glue to one part paint.
- Add water if necessary to reach the desired consistency.
5. DIY Pouring Mediums
For those who enjoy a bit of experimentation, creating your own pouring medium from household items can be an exciting alternative. Common DIY options include mixing water, PVA glue, and a dash of silicone oil.
Recipe Example:
- 50% PVA Glue
- 30% Acrylic Paint
- 20% Water
- A few drops of Silicone Oil
6. Professional Art Mediums
For artists who demand the best in their work, professional art mediums from brands like Golden and Winsor & Newton offer superior performance. These mediums are designed to achieve professional-grade results with enhanced durability and visual appeal.
Advantages:
- High-quality finish.
- Enhanced durability and stability.
How to Choose the Right Pouring Medium
Choosing the right pouring medium depends on several factors such as your budget, skill level, and the desired result. Here are some tips to help you pick the right one:
Consider Your Budget
If you’re just starting, look for cost-effective options like Floetrol or PVA glue. They offer good results without breaking the bank.
Determine Your Goals
Do you want vibrant, glossy results with enhanced cell formation? Opt for professional acrylic mediums like Liquitex or Golden GAC 800.
Test and Experiment
Don’t be afraid to experiment with different mediums to find the one that works best for you. Pour painting is a creative process, and each medium will give you different results.

Step-by-Step Guide to Using Pouring Mediums
Here’s a step-by-step guide to help you start your paint pouring adventure:
Step 1: Gather Your Materials
You’ll need:
- Acrylic Paints
- Pouring Medium of your choice
- Canvas or substrate
- Mixing cups and stirrers
- Silicone Oil (optional)
- Torch (optional)
Step 2: Prepare Your Workspace
Cover your workspace with plastic or newspaper to keep it clean. Set your canvas on raised supports to catch excess paint.
Step 3: Mix Your Paints
In separate cups, mix your acrylic paint with the pouring medium according to the recommended ratios.
Step 4: Add Silicone Oil (Optional)
If you want to create cells, add a few drops of silicone oil to your paint mixtures and stir gently.
Step 5: Layer and Pour
Layer your paint mixtures in a single cup if you’re doing a dirty pour, or pour them directly onto the canvas one at a time for other techniques like puddle pouring or flip cups.
Step 6: Manipulate the Paint
Tilt the canvas to stretch and blend the paint. You can also use tools like combs, spatulas, or straws to create different effects.
Step 7: Use a Torch (Optional)
Lightly pass a torch over the surface to eliminate air bubbles and enhance cell formation.
Step 8: Let it Dry
Allow your piece to dry completely in a dust-free environment. Drying time can vary from 24 to 72 hours depending on the thickness and medium used.
Step 9: Seal Your Artwork
Once dry, seal your artwork with a varnish or resin to protect it and enhance its gloss.
Tips and Tricks for Better Results
Control Your Consistency
The consistency of your paint mixture is crucial. It should be like warm honey or melted ice cream. Too thick, and it won’t spread; too thin, and the colors will muddy.
Air Bubbles
To minimize air bubbles, mix your paint and medium slowly and let it sit for a few minutes before pouring.
Equipment
Invest in good-quality tools like silicon spatulas, torches, and levelers to achieve professional results.
Environment
Temperature and humidity can affect your pour. Try to work in a climate-controlled environment and let your artwork dry in a space free from dust and drafts.
Common Issues and How to Solve Them
Cracking
Cracking or crazing can happen if the paint dries too quickly or is applied too thickly. Use a pouring medium designed to minimize cracking and ensure your layers aren’t too thick.
Muddy Colors
Muddy colors result from over-mixing or using too many colors that don’t complement each other. Stick to a limited color palette and mix just enough to blend without merging into a single muddy color.
Uneven Drying
Uneven drying can lead to inconsistencies in your artwork. Ensure your canvas is level and keep the environment stable to allow for even drying.
Conclusion
Congratulations! You now have a comprehensive understanding of different pouring mediums and how they can transform your paint pouring projects. Whether you choose a store-bought medium or a DIY solution, the key is to experiment and find what works best for you. With practice and patience, you’ll be able to create stunning artwork that’s uniquely yours.
So, go ahead, grab your materials, and start pouring! And remember, every pour is an opportunity to learn and improve. Happy creating!