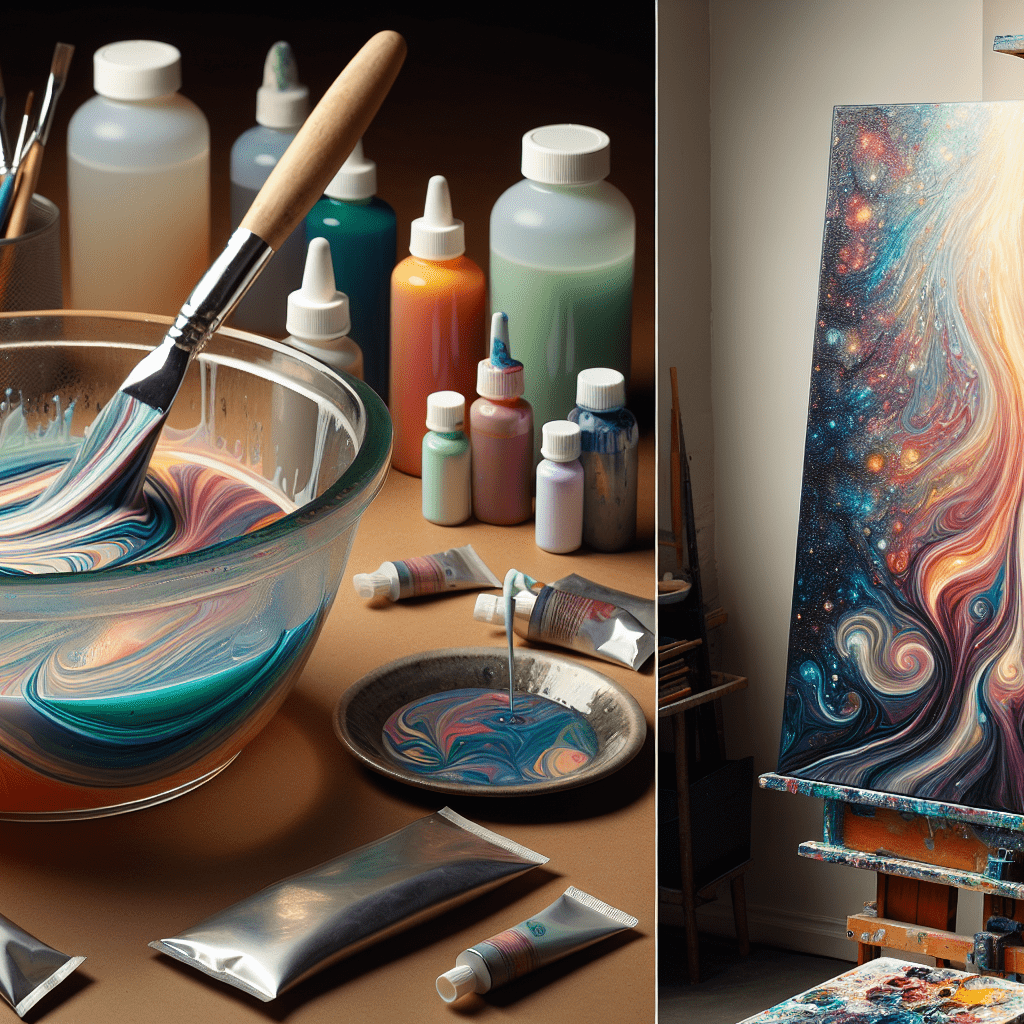
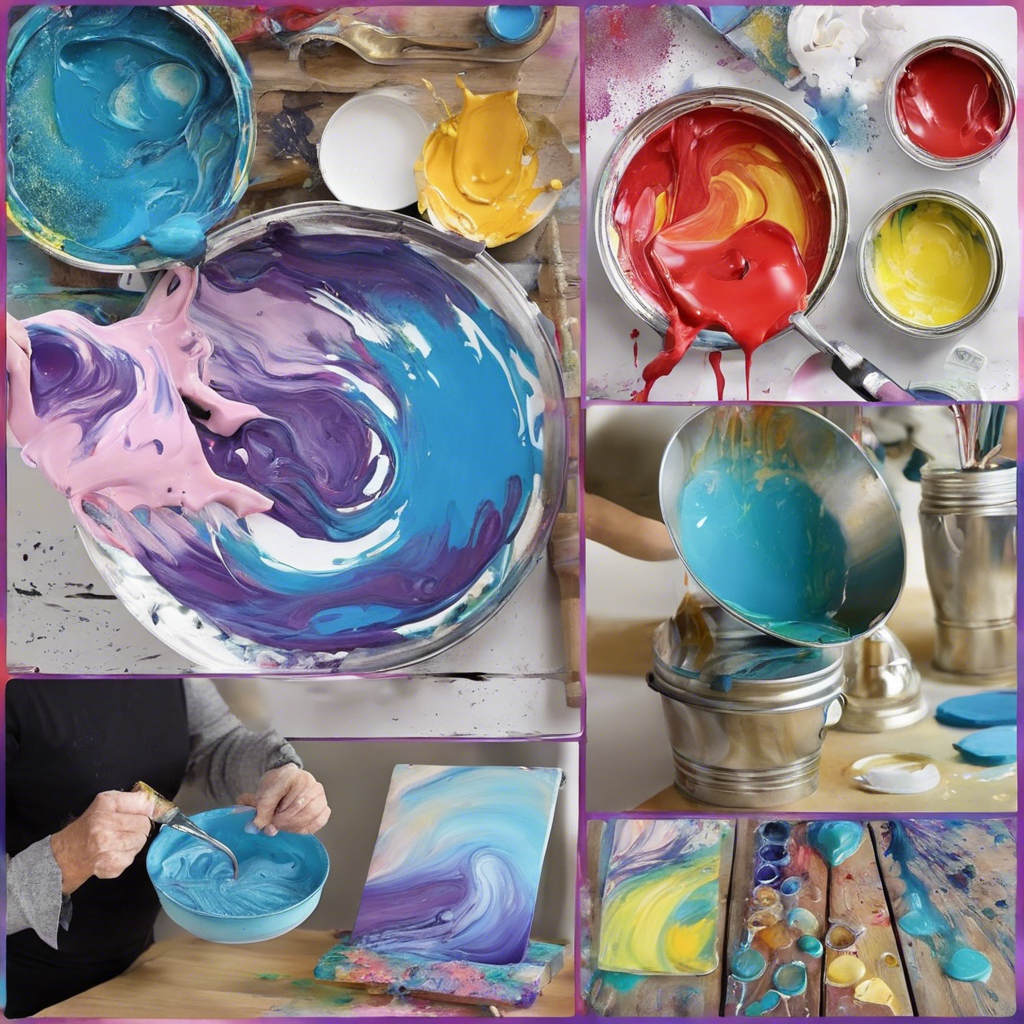
Discover two effortless DIY pouring medium recipes to elevate your acrylic pouring projects. Craft your own medium to save on costs while ensuring vibrant, seamless results. Whether you choose Elmer’s Glue or Floetrol-based recipes, achieve the perfect fluidity for stunning artworks. Dive into the world of acrylic pouring with confidence, aided by helpful beginner resources. Unlock mesmerizing effects on your canvas with these simple, cost-effective techniques.
Recipe 1: Elmer’s Glue and Water
Ingredients
- Elmer’s glue
- Water
Instructions
- In a clean container, add 2 parts Elmer’s glue.
- Gradually add 1 part water to the glue.
- Use a stir stick or a small whisk to thoroughly mix the glue and water together.
- Continue stirring until the mixture is well combined and has a smooth consistency.
- Your DIY pouring medium is now ready to be used in your acrylic pouring projects!
Recipe 2: Floetrol, PVA Glue, Liquitex Pouring Medium, and Distilled Water
Ingredients
- Floetrol
- PVA glue
- Liquitex Pouring Medium
- Distilled water
Instructions
- In a clean container, combine 1 part Floetrol.
- Add 1 part PVA glue to the Floetrol.
- Mix in 1 part Liquitex Pouring Medium to the mixture.
- Gradually add distilled water to the mixture, thinning it to your desired consistency.
- Stir the ingredients together thoroughly until they are well blended.
- Your homemade pouring medium is now ready to be used for your acrylic pouring projects!
Benefits of DIY Pouring Mediums
Cost Savings
One of the major benefits of using DIY pouring mediums for acrylic pouring is the cost savings. Instead of purchasing pre-made pouring mediums, which can be quite expensive, you can create your own at a fraction of the cost. The ingredients used in the DIY recipes are easily accessible and affordable, making it an economical choice for artists on a budget.
Preserving Colors
Another advantage of DIY pouring mediums is their ability to preserve the vibrancy and integrity of colors. Pouring mediums are designed to enhance the flow of acrylic paint without diluting or dulling the pigments. By creating your own pouring medium, you can ensure that your colors remain vibrant and true to their original intensity, resulting in stunning and eye-catching artworks.
Why Use Pouring Medium
Enhanced Flow
Pouring mediums are specifically formulated to improve the flow of acrylic paint, allowing it to move and spread more easily on the canvas. The addition of pouring medium to the paint creates a smoother consistency, making it easier to achieve desired effects such as pouring, puddling, and dripping. This enhanced flow is essential for successful acrylic pouring techniques.
Vibrant Colors
Another reason to use pouring medium is to maintain the vibrancy of colors in your artwork. When acrylic paint is thinned down with water alone, it can result in a weaker color payoff and a loss of saturation. Pouring medium, on the other hand, ensures that the pigments retain their richness and intensity, resulting in more vibrant and visually striking paintings.

Using Water vs. Pouring Medium
Thinning Down Paint
Water can be used to thin down acrylic paint for pouring purposes, but it is not the ideal choice. While water can create a more fluid consistency, it can also dilute the pigments and affect the vibrancy of the colors. Additionally, using too much water can cause the paint to become too thin, resulting in less control over the pour and potential puddling or muddying of colors.
Better Results
Using a pouring medium instead of water yields better results in acrylic pouring. Pouring mediums are specifically formulated to maintain the integrity of pigments and enhance the flow of the paint without sacrificing vibrancy. The consistency achieved with pouring medium allows for more control and precision in the pouring process, resulting in more predictable and visually appealing outcomes.
Achieving the Right Consistency
Mixing the Ingredients
To achieve the right consistency for your pouring medium, it is essential to mix the ingredients thoroughly. This ensures that the glue, medium, and water are well blended and create a smooth texture. Use a stir stick or a small whisk to combine the ingredients, making sure there are no clumps or lumps left in the mixture.
Cream-Like Consistency
The desired consistency for pouring medium is often described as resembling heavy cream. When the pouring medium is the right thickness, it should slowly pour off a stir stick or a palette knife in a smooth and continuous stream. If the mixture is too thick, add a small amount of water and mix again. If it’s too thin, add more medium or glue to thicken it.
Acrylic Pouring Technique
Flowing and Mingling Colors
Acrylic pouring is a technique that involves pouring or pouring in layers of colorful acrylic paint onto a canvas or other painting surface. The poured paint is then manipulated by tilting the canvas, allowing the colors to flow and mingle with each other. This technique creates unique and dynamic patterns, resulting in mesmerizing artworks with a sense of movement and depth.
Materials Needed
To get started with acrylic pouring, you will need a few basic materials. These include acrylic paint in various colors, a pouring medium (either pre-made or DIY), a painting surface such as canvas or wood panel, and some additional tools like plastic cups, stir sticks, and a palette knife. It’s also a good idea to have a drop cloth or old newspapers to protect your workspace from any spills.
Different Pouring Techniques
Desired Effects
Different pouring techniques can be used to achieve desired effects in acrylic pouring. Some popular techniques include:
- Dirty Pour: Combining multiple colors of paint in a cup and pouring them onto the canvas simultaneously.
- Flip Cup: Layering colors in a cup, flipping it onto the canvas, and then lifting the cup to let the paint flow.
- Swipe Technique: Pouring one or more colors of paint onto the canvas and using a swipe tool, such as a palette knife or a card, to drag the colors across the surface.
- Dutch Pour: Pouring individual colors onto the canvas and using a blow dryer or straw to manipulate the paint and create unique patterns.
Exploring Options
The beauty of acrylic pouring lies in its versatility and experimentation. As you become more familiar with the technique, don’t be afraid to explore different pouring techniques and combinations of colors. Each technique offers its own unique visual effects, and by trying out various methods, you can discover your own signature style and create truly one-of-a-kind artworks.
Pre-Made Pouring Mediums
Convenience
If DIY pouring mediums aren’t your cup of tea, pre-made pouring mediums are widely available for purchase. These ready-to-use mediums offer convenience, as they eliminate the need to measure and mix ingredients yourself. They come in various brands and formulations, catering to different preferences and requirements.
Product Recommendations
Some popular pre-made pouring mediums on the market include Liquitex Pouring Medium, Golden GAC 800, and Floetrol. These products are specifically designed for acrylic pouring and have been tested and proven to produce optimal results. It’s always a good idea to read reviews and do some research to find the pouring medium that best suits your needs and budget.
Additional Resources
Paint Pouring Supplies for Beginners
For beginners looking to get started with acrylic pouring, there are many resources available online that provide guidance on paint pouring supplies. These guides offer recommendations on essential tools and materials needed for successful acrylic pouring projects, helping beginners make informed decisions and avoid unnecessary expenses.
Best Pouring Mediums on the Market Guide
If you’re interested in exploring pre-made pouring mediums, a guide on the best pouring mediums on the market can be a valuable resource. These guides provide in-depth reviews and comparisons of various pouring mediums, helping you make an informed choice based on your specific needs and preferences. It’s always helpful to learn from others’ experiences and recommendations when selecting a product for your art practice.

Paint Pouring with Silicon and Torch
How to make Acrylic Paint Pouring Medium
Ask my agent for things by typing in the following: traditional pour, tree ring pour, flip cup pour, dirty pour, puddle poor, and get the complete technique to use.
I’ll be adding more soon; it just took me a couple days to figure out how it works. I will have every possible technique and guide I can find and make available through my agent. And explain how to use to find whatever you need.
Have to feed it a lot of information today and tonight to get it ready. But try out some terms i listed and see how it provides you the information.


