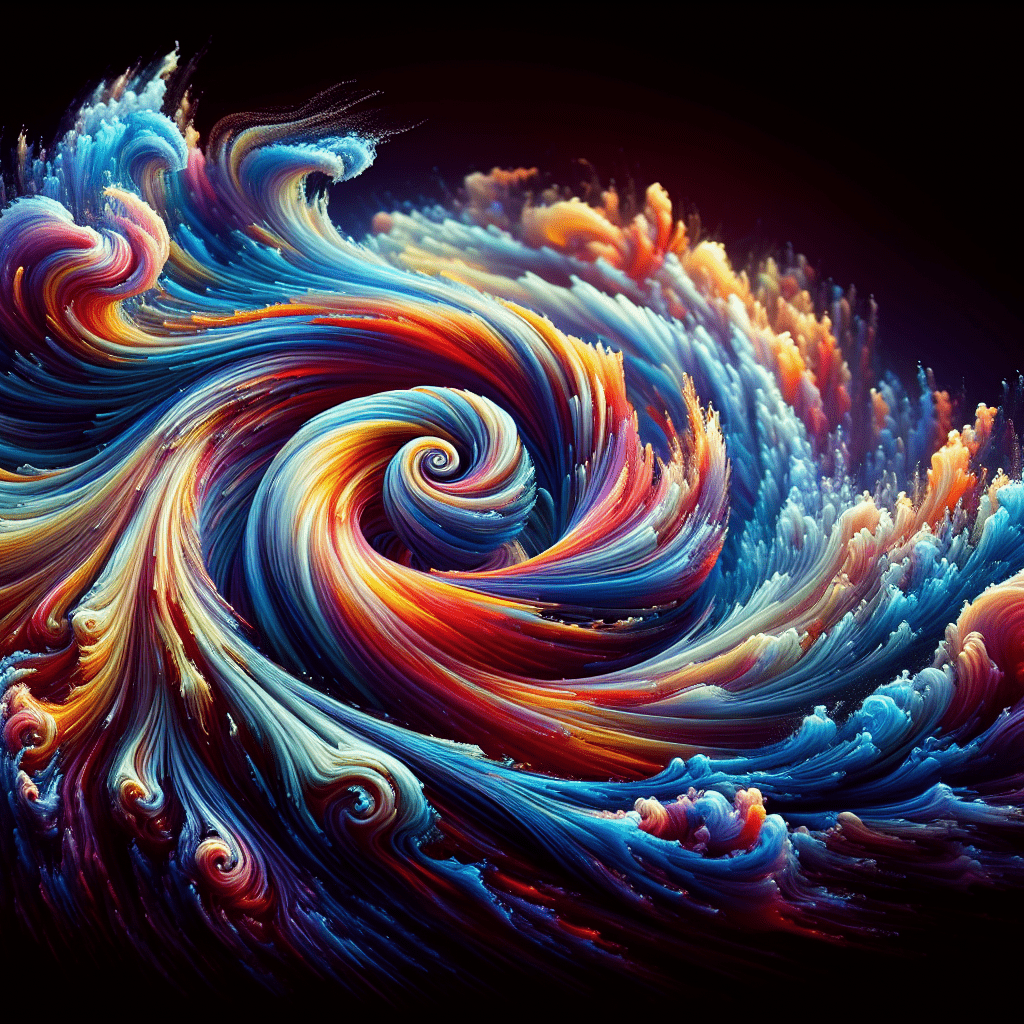
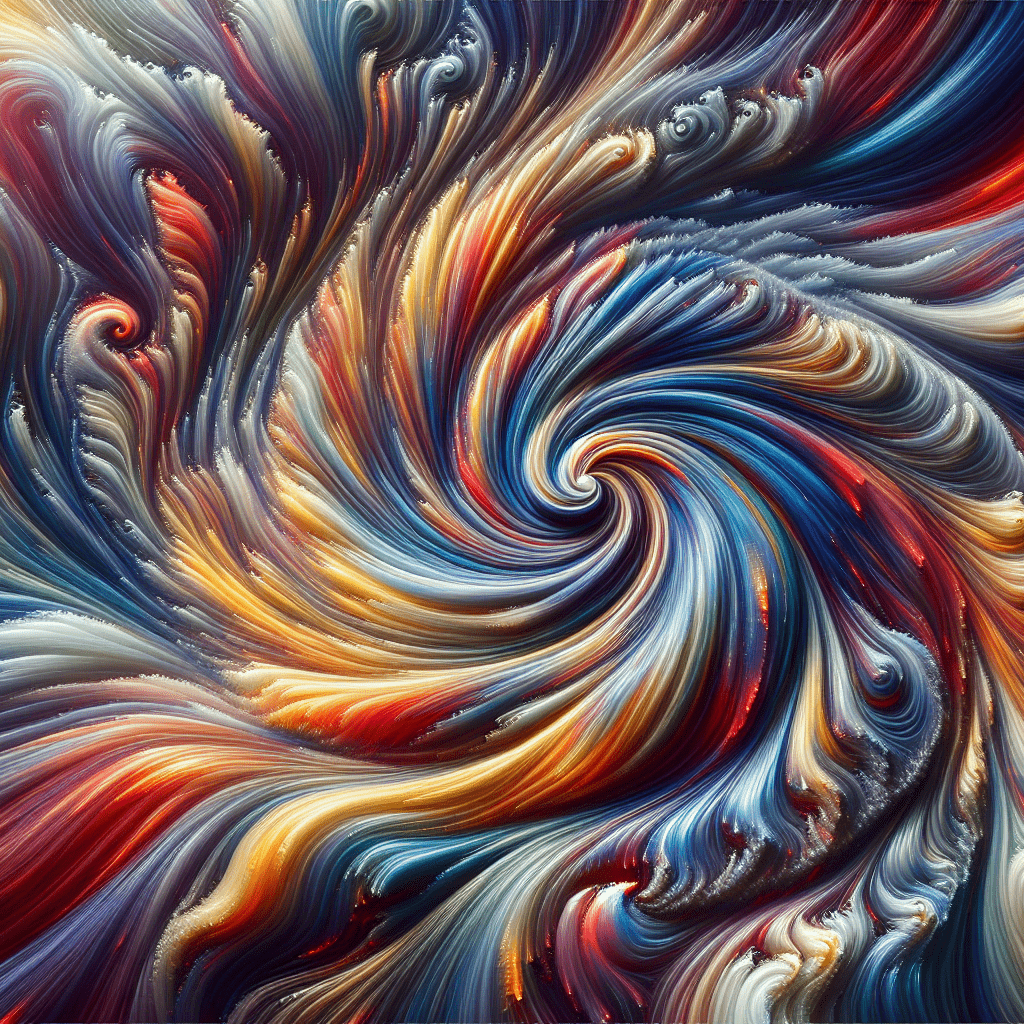
Fluid dynamics, an endlessly intriguing concept, finds a unique expression in the realm of art. Referred to as Fluid Art or Acrylic Pouring, this captivating technique involves pouring paint onto a surface, resulting in mesmerizing abstract forms. Originating in the 1930s and propelled into popularity by artist David Alfaro Siqueiros, it’s deeply rooted in physics, specifically fluid dynamics and paint density. Various methods like clean pour, dirty pour, flip cup, and swipe offer diverse outcomes.
To embark on this creative journey, gather basic supplies: disposable gloves, plastic cups, coffee stir sticks, a digital scale, a paint pour box, paints, and additives like Floetrol or white PVC glue. Preparation and understanding the chemistry and color theory behind the technique are key for optimal results. Fortunately, abundant online resources and workshops are available for mastering Fluid Art techniques. Ready to explore your artistic inclinations with fluid paint? This is your perfect opportunity!
Fluid Dynamics
Introduction to Fluid Dynamics
Hey there! The world of fluid dynamics is fascinating, and I’m excited to share some insights with you. Fluid dynamics is the study of how fluids, such as liquids and gases, move and interact. In the context of art, fluid dynamics plays a crucial role in a technique called Fluid Art, also known as Acrylic Pouring.
History of Fluid Art
Fluid Art has been around for quite some time, with its roots dating back to the 1930s. The technique gained popularity thanks to artist David Alfaro Siqueiros, who brought it into the spotlight. Ever since then, artists have been experimenting with fluid art and pushing the boundaries of what can be achieved with these mesmerizing and colorful creations.

Principles of Fluid Dynamics in Art
Fluid Art is grounded in the principles of physics, specifically in fluid dynamics and the concept of paint density. The technique revolves around the free-flowing nature of fluid paint and the interactions it has with other colors and the surface it is poured onto. Understanding these dynamics helps artists create captivating and organic forms on their canvas.
Techniques in Fluid Art
There are various techniques that artists can employ to achieve unique effects in Fluid Art. Let’s explore some of the popular ones:

Clean Pour Technique
In the clean pour technique, individual colors are poured onto the canvas, creating distinct layers of paints. The colors flow together, blending and forming beautiful patterns and effects. This technique allows for precise control and creates a clean and polished look in the final artwork.
Dirty Pour Technique
The dirty pour technique involves combining multiple colors into one cup before pouring them onto the canvas. As the paint is poured, the colors mix and swirl together, creating mesmerizing and intricate patterns. This technique embraces the element of surprise, as the final result is often unpredictable and unique.
Flip Cup Technique
The flip cup technique is all about letting gravity do the work. In this method, the artist pours various colors into a cup and then flips it upside down onto the canvas. The cup is then lifted to release the paint, allowing it to flow and blend naturally. This technique often produces captivating and organic compositions with stunning color transitions.
Swipe Technique
The swipe technique involves pouring paint onto the canvas and then using a tool, such as a palette knife or a swipe card, to drag the paint across the surface. This creates beautiful streaks and textures, adding depth and movement to the artwork. The swipe technique is an excellent way to incorporate bold lines and contrasting colors into your fluid art pieces.
Supplies Needed for Fluid Art
To get started with Fluid Art, there are a few essential supplies you’ll need. These include disposable gloves to protect your hands, plastic cups for mixing and pouring paint, coffee stir sticks for stirring paint and creating unique patterns, a digital scale to measure the paint accurately, a paint pour box to contain the mess, various paints, and paint additives like Floetrol or white PVC glue to enhance the flow and consistency of the paint. Finally, you’ll need a prepared surface, such as a canvas or wood panel, to pour the paint onto.
Planning and Preparation in Fluid Art
While fluid art can seem spontaneous and free-flowing, it’s essential to plan and prepare before diving in. Understanding the chemistry and color theory behind the technique will help you achieve your desired results. Take the time to experiment with different color combinations and ratios, as well as different pouring techniques. This experimentation and planning will ensure that your fluid art creations turn out just the way you envisioned them.
Resources for Learning Fluid Art Techniques
If you’re new to Fluid Art or looking to expand your skills, there are plenty of resources out there to help you master the technique. Online tutorials and workshops provide step-by-step guidance and tips from experienced fluid artists. You can also find helpful guides and books on fluid art techniques, as well as join social media communities dedicated to this art form. By tapping into these resources, you’ll gain inspiration and knowledge that will take your fluid art to new heights.
Remember, Fluid Art is all about embracing the fluidity and freedom of paint. So grab your supplies, let your creativity flow, and have fun exploring the mesmerizing world of fluid dynamics in art!

